
How to make a cute colouring book softie.
Materials:
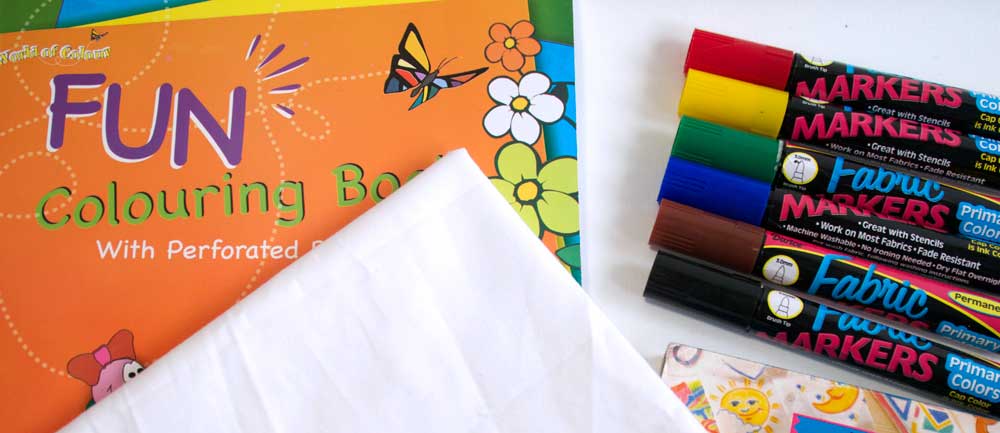
- Small section of white cotton, this can be recycled cut-offs from sheets or pillowcases).
- Felt – Colour and size will depend on the colouring book character you choose.
- Polyester stuffing – doll or softie filler, this is available from your local haberdashery shop.
- Fabric markers or fabric pastels
- Machine sewing thread (black)
Tools:
- Scissors
- Pins
- Sewing machine
- Needle
- Sellotape
Instructions:
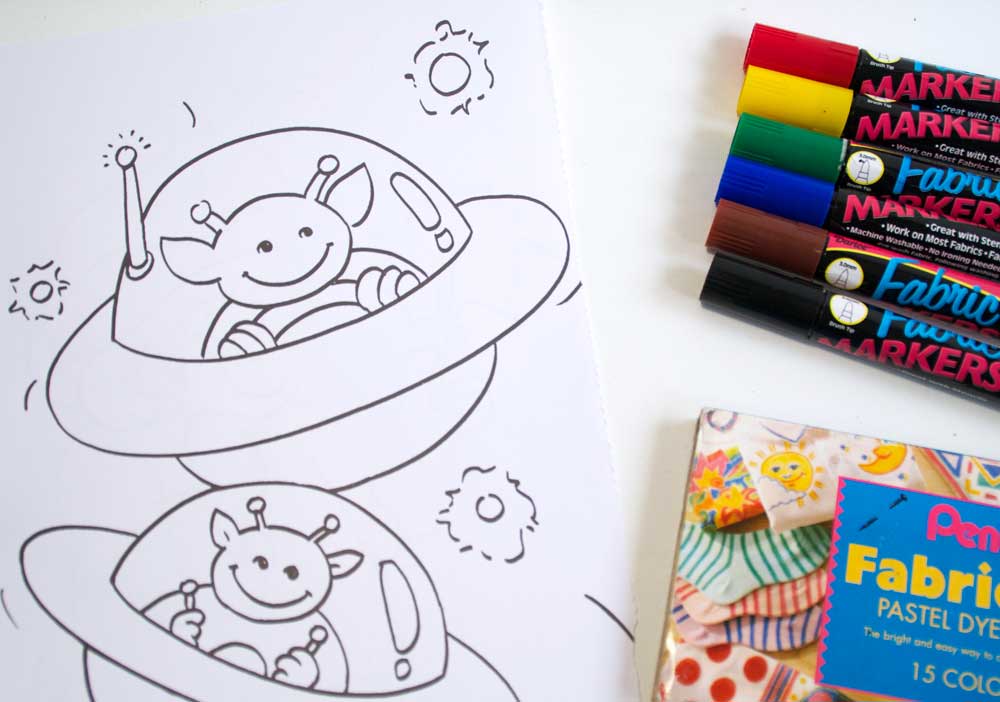
Choose an image from the colouring book to translate into a 3D Softie. When choosing an image or character try to pick one with as smooth an outline as possible, if you choose a character for example an octopus turning all of the tentacles will be difficult. Remove the page from the colouring book. The colouring book in the image above has perforated pages.
Cut out the amount of white cotton necessary to cover the page area you are going to trace from, this will include the image and the white space around the image.
Iron the cotton to make sure the fabric lays flat, cover the image and Sellotape the cotton in place onto the paper.
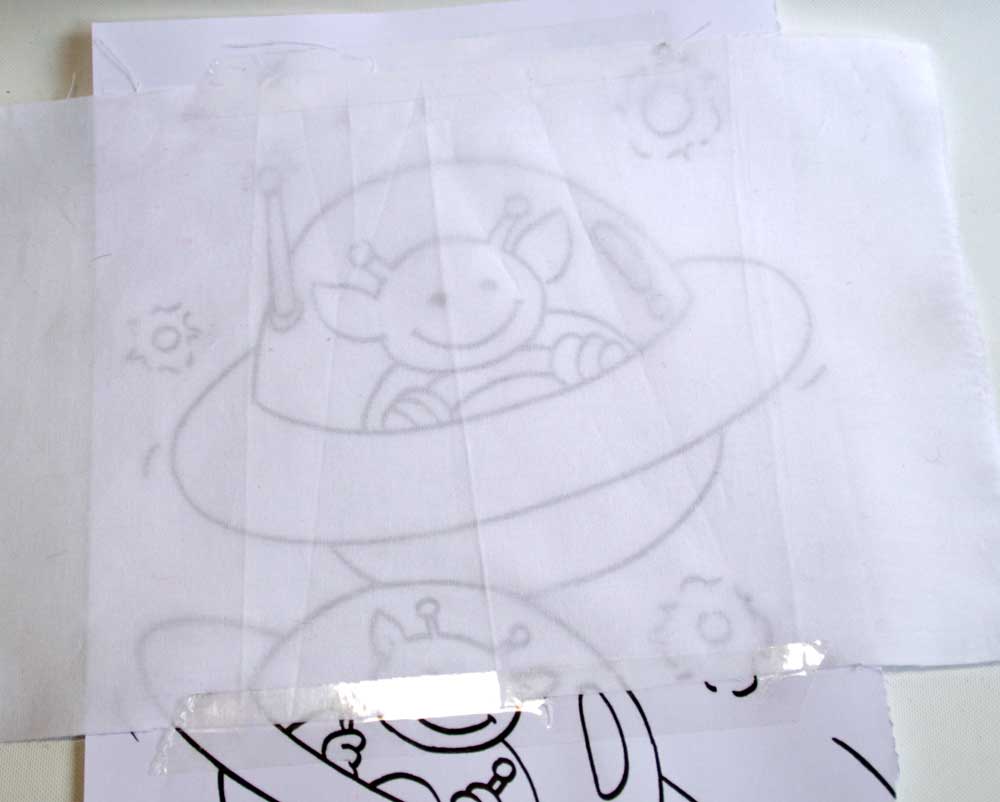
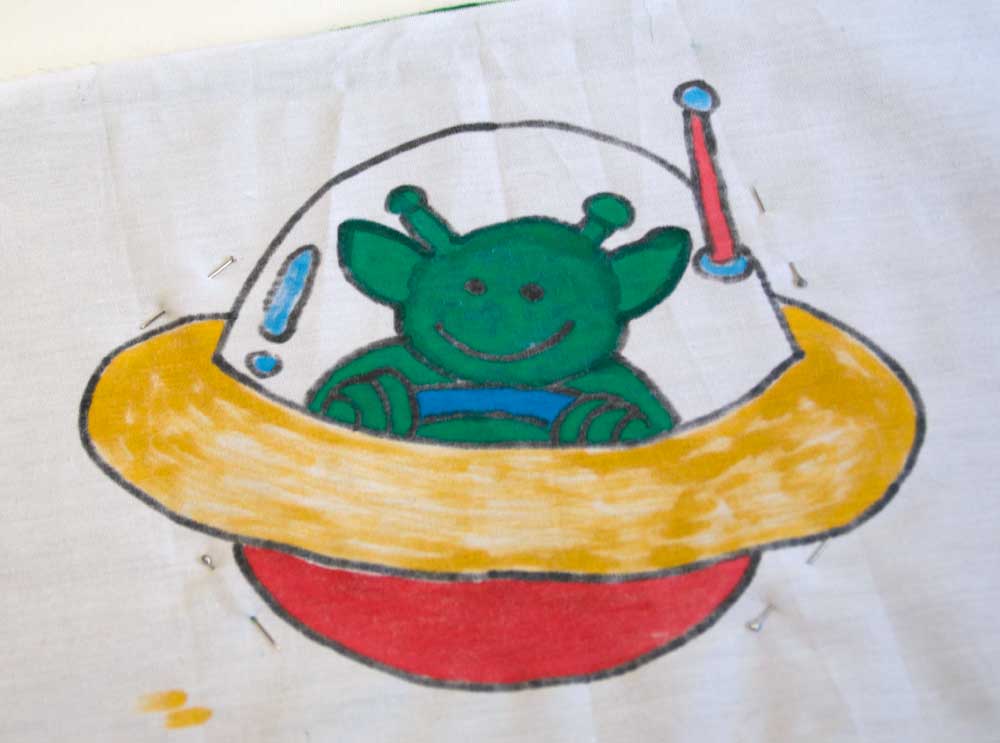
Using a black fabric marker trace the outline of the chosen image and fill in all of the detail. Colour in the image with the rest of the fabric markers.
Note: The fabric markers I used need to be fixed to the fabric by covering with a sheet of paper and ironing, different markers have different instructions, please read each brand for details on how to fix the colour in place.

Remove the fabric from the paper. The image can be stored to use again. Fix the image to the fabric (see note above).

Choosing the felt, you will need the same size of felt as the cotton used, the colour will depend on the image.

Place the right side of the fabric onto the felt and pin in place, pinning in the white space around the image. Trim the fabric around the image to allow for it to be easier to machine sew.
Optional: at this point you could tack the fabric to the cotton.
Following the black outline of the image machine sew around the outline of the image.
Note: Make sure to leave a small space at the base of the image to allow for the softie to be turned right side out.

Once you have sewn the felt and the cotton together, remove the pins or the tacking.
Trim away any more excess fabric from the outside of the image and snip into any of the curves or turns, this will allow the softie to turn with without any puckering on the seams.

Turn right side out and fill with the polyester stuffing.
To seal up the small open space use the ladder stitch.

Your new colouring book softie is now ready.

My Book – Sewing Animal Dolls
