
Cute summer inspired Ice Cream & Ice Pop softies that can double up as cushions. Easy to sew up and can be made in a variety of materials, in his tutorial I have used felt, but they can also be made in cotton, wool, or maybe upcycle colourful teeshirts. Perfect for picnics or on long days at the beach, they double up as a set of softies or a set of comfy small cushions.
Materials
Ice Pop
- 2 A4 sheets of deep pink felt
- 2 A4 sheets of light pink felt
- 2 A4 sheets of lemon felt
- Small amount of pink felt for the cheeks
- Small amount of black felt for the eyes
- Cream machine sew thread
- Light pink embroidery thread/floss to match the felt for the cheeks
- Black embroidery thread/floss to match the felt for the eyes
- Craft filler for stuffing
- Patterns
Ice Cream
- 2 A4 sheets of pink felt
- 2 A4 sheets of light beige felt
- Small amount of pink felt for the cheeks
- Small amount of black felt for the eyes
- Pink machine sew thread
- Light pink embroidery thread/floss to match the felt for the cheeks
- Black embroidery thread/floss to match the felt for the eyes
- Craft filler for stuffing
- Patterns
Tools
- Sewing machine
- Printer & A4 paper
- Paper & material scissors
- Chopstick to help with turning & stuffing the softies
- Pins
- Sewing needles, one with a large eye to take 4 strands of embroidery thread/floss

To Make the Ice Pop
Download and print out the ice pop pattern at 100 % on A4 paper. Cut out 2 deep pink from pattern A, and 2 light pink & 2 yellow from the pattern B downloaded. Also cut out 2 pink cheeks and 2 black eyes.

Using the pattern as a guide position the cheeks and eyes onto the deep pink felt section of the Ice Pop. Whipstitch appliqué the cheeks into position using 2 strands of the pink embroidery thread/floss. Whipstitch applique the eyes into position again using 2 strands of the black embroidery thread/floss.

Using the face pattern as a rough guide, fill in the eyebrows and the mouth with a backstitch. Use 4 strands of embroidery thread/floss to work the backstitch and the needle with the large eye.

Line up the deep pink and the light pink felt material pieces right side to right side and pin together as show in the picture below.

Machine sew together along the pinned line only, leaving a ¼” seam allowance.

Line up the light pink and the lemon felt material pieces right side to right side and pin together.

Machine sew together along the pinned line only, leaving a ¼” seam allowance.

Open up the entire Ice Pop felt piece and pin together, material right side to side. Mark out a 2” opening at the bottom end of the softie and pin.

Machine sew around the entire circumference leaving a ¼” seam allowance. Remember to leave the opening at the base of the Ice Pop for turning and stuffing.

Trim off the excess felt at the bottom two corners and turn the Ice Pop right side out.

Stuff the Ice Pop Softie with the craft filler.

Close the opening using a Ladder stitch.

Ice Cream Softie
Download and print out the Ice Cream pattern at 100 % on A4 paper. Cut out 2 pink ice cream sections and 2 cone sections from the patterns downloaded. Also cut out 2 pink cheeks and 2 black eyes.

Using the pattern as a guide position the cheeks and eyes onto the top section of the Ice Cream. Whipstitch appliqué the cheeks into position using 2 strands of the pink embroidery thread/floss. Whipstitch appliqué the eyes into position again using 2 strands of the black embroidery thread/floss. Fill in the eyebrows and the mouth with a backstitch. Use 4 strands of embroidery thread/floss to work the backstitch and the needle with the large eye.

Pin the Ice Cream section to the cone section, making sure they are mirror opposites of each other.

Machine-sew the ice cream to the cone along the pinned line, using the cream machine thread.

Place the two sides of the Ice Cream together, material facing right side to right side and pin. Take note of the space to leave open for turning and stuffing on the pattern.

Machine-sew around the entire circumference, taking your time on the curved sections.


Turn the Ice Cream right side out using the chopstick to smooth out the curved areas gently.

Stuff with the craft filler, the chopstick can be used to manoeuvre the filler into the corners.


Close the opening with the ladder stitch.

Your Ice Cream & Ice Pop Softie Cushions are now ready to use.


Raindrop baby sewing pattern and tutorial
Make your own cute Raindrop Baby with this free sewing pattern and tutorial. This tutorial is part of the Sew a Softie Tutorial Hop for more details visit SEWASOFTIE Materials: Cotton fat quarter (Fat Quarter I used CLICK HERE) Blue felt square White felt scraps...

Handmade Santa Decoration
Make your own handmade Santa decoration with our free Pattern & Tutorial.Materials: Black, white & red felt (see the pattern for the sizes) Fleece for hat and boot trim Craft filler Embroidery thread/floss (black, red, white) Tools: Paper & fabric Scissors...
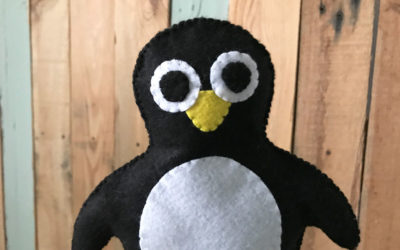
Happy Penguin – free sewing pattern
Yeah, so happy to be involved with Sew a Softie, again this year, a big thank you to Trixi for organising the event. Happy Penguin is my latest free Softie Pattern, quick and easy to hand sew together. https://www.sewasoftie.com - A selection of the Sew a Softie...

Twilight Bear Sewing Pattern & Story Time
Materials: Yellow felt (moon)Brown felt (bear)Cream felt (bear nose)Blue felt (bear trousers & stars)Yellow, blue, black & brown embroidery thread/floss Craft filler Tools: Printer to print out the pattern on A4 size paper Scissors, paper &...

Bat Cat Halloween Sewing Pattern
Happy Halloween. Yeah, so happy to be involved with Sew a Softie for Halloween, a big thank you to Trixi for organising the event again this year. Bat Cat is my latest free Softie Pattern, quick and easy to hand sew together, the perfect scary accessory...

Betty Bunny Sewing Pattern – Sew a Softie 2018
Betty Bunny Sewing Pattern Materials: A4 sheet of wool felt 5 1/2" ribbon & 1 button 5 x 11" piece of patterned cotton Brown embroidery thread/floss Embroidery thread/floss to match the felt Polyester toy stuffing Tools: Pattern [sdm_download id="7805"...

Mr Chatty Sew a Softie 2018
Materials: Red & white Cotton (large scraps will do for this project, check the pattern for sizes) White & navy felt again small scraps will do Red machine thread White & navy embroidery thread / floss Craft filler Mr Chatty Sewing Pattern...

My little Elf – Free pattern
My little Elf - Free patternHappy first of December and to celebrate I decided to create my very own little elf, as inspired by elf on a shelf. I'll just have to find a nice cosy shelf now to sit him on. The finished Elf with his hat on measures 17" from...

Boo Ghost Softie Sewing Pattern
Happy Halloween, make your own cute BOO Ghost Softie with my latest free pattern. Quick and easy to hand sew together, the perfect scary accessory for trick or treating :)Tools:ScissorsEmbroidery sewing needlePinsMaterials:2 sheets of A4 white feltScraps...

Owl & the Pussy-cat Sewing Pattern & Tutorial
Owl & the Pussy-cat Pattern & Tutorial Materials: Boat – 2 sheets of A4 felt (colours 2 shades of green) Owl, pussy-cat & guitar see patterns for felt amounts (mix and match colours as you choose) Embroidery thread / floss to match...
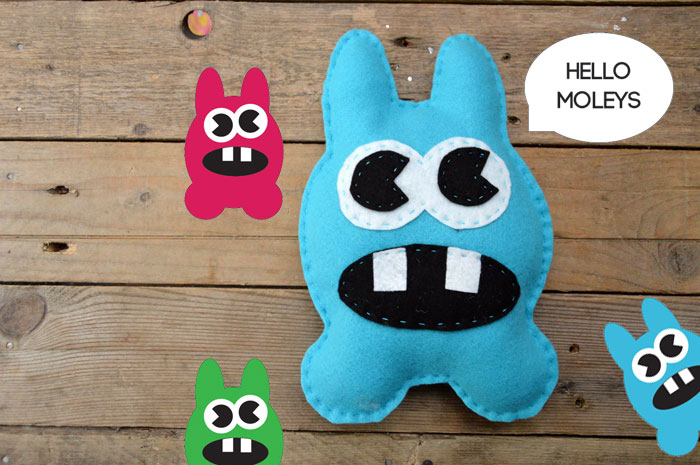
Moley Monster Sewing Pattern
Moley Monster Sewing Pattern Tools & Materials: Paper & fabric scissors Fabric marker Printer and A4 paper Embroidery thread/floss (colour to match the main body of the Moley Monster) Embroidery needle 2 sheets of A4 felt Small sections...

Small Fairy Door
Small Fairy Door DIY Make your own small fairy door, follow our step by step tutorial using a selection of found item mixed with basic craft supplies. Tools & Materials: Scissors Glue & glue gun 7 small coloured wooden lollipop sticks 2...

Fairy Snuggle Bug
Fairy Snuggle Bug Materials: Green & white felt pieces large enough for each pattern piece White, pink & light green embroidery thread/floss Polyester craft filler Tools: Paper & fabric scissors Pins Sewing needle Pencil or tailor...

Fairy Door DIY
Fairy Door DIY Make your own fairy door, follow our step by step tutorial using a selection of found item mixed with basic craft supplies. Tools & Materials: Scissors Glue & glue gun 6 large wooden lollipop sticks 2 narrow pieces of...

Fairy Doll No Sew
Fairy Doll No SewQuick and easy to make our latest fairy doll no sew tutorial is here. This fairy doll is easy to customise once the main section has been made, the possibilities are endless.Tools & Materials:Two colours of yarn (for this tutorial I...

Small Fairy House Free Pattern
Small Fairy House Free Pattern and Tutorial Materials: Complimentary felt pieces large enough for each pattern piece Small buttons various sizes, samples in this project 2 flower buttons, 1 rabbit button & 1 pink button Complimentary...

Felt Toadstool – Free Pattern & Tutorial
Make your own fairy toadstool with this quick and easy to follow free pattern & tutorial from Miss Daisy Patterns. Materials & Tools: Red & cream felt Mint green embroidery thread / floss Paper & material scissors Pins &...

No Sew Fairy Tutorial
Make your own cute fairy with this no sew tutorial.Materials:1 Wooden ball 1 1/5" / 4 cm with a centre hole2 pipe cleaners 11 1/5 " / 29 cmSmall ball of yarn (I used Aran weight 100% wool)3/4" / 2 cm width lace3 skeleton leaves3 pieces of cotton fabric cut the same...

Clay Toadstools Tutorial
Make your own Toadstools with our latest video tutorial. Follow our easy step by step tutorial to make toadstools from air dried clay. They can be used as little Christmas ornaments or included in a fairy village scene with our cute no sew...
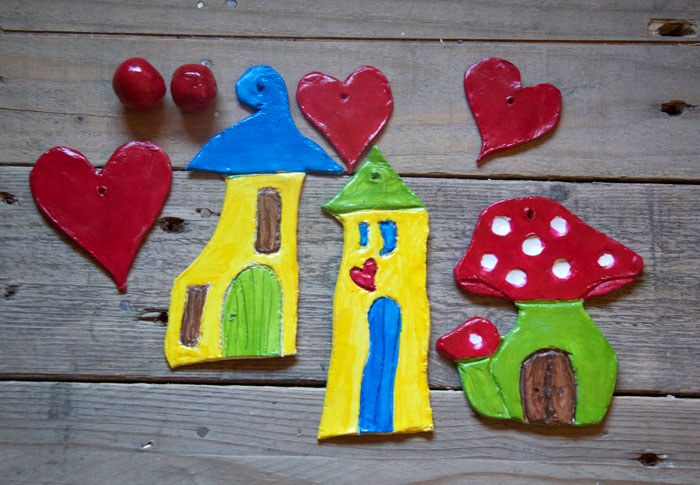
Fairy Houses – Air Dried Clay Tutorial
After seeing some of the lovely ceramic fish, tiles and wall art ceramic houses on a recent trip to Portugal I was really inspired to try some for myself. But not having access to a kiln and actually pottery making equipment, I decided to try...

My Book – Sewing Animal Dolls


