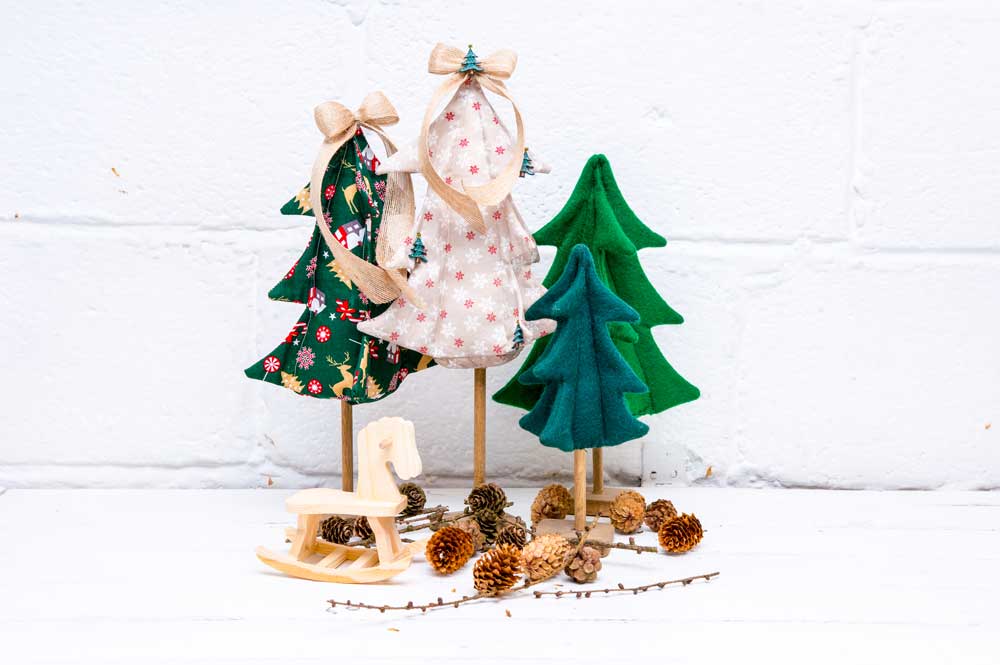

Village Christmas Tree Free Pattern & Tutorial
Make your own cute Christmas Tree with this easy to follow pattern and tutorial from Miss Daisy Patterns. This project is part of the Sew Crafty Design Team. The finished village Christmas tree measures 15 1/2″ from the base of the dowel to the top of the tree approximately.
Tools:
- Scissors (paper & material)
- Sewing needle
- Pins
- Chopstick
- A4 printer & paper
- Sewing machine
Materials:
- Cotton fat quarters (various colours, 1 per tree)
- Gutermann thread (match colours to the material)
- Craft filler
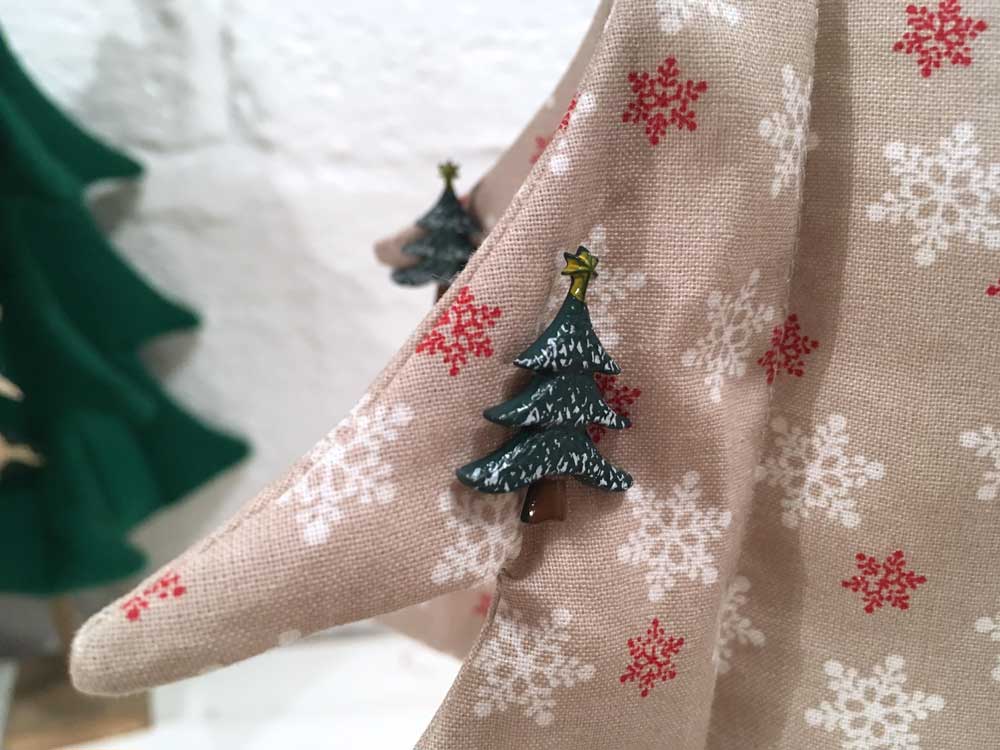
- Christmas tree buttons x 6
- Hessian ribbon
- Wooden dowel and 2″ x 2″ wooden squares (base for the tree)
- Wood glue
Download the pattern click here Pattern 1
To Make:
Christmas tree base:
Cut the dowel down into 10″/11″ lengths, in the centre of a 2″ x 2″ wooden square make a hole big enough for the dowel to fit into snuggly. Place some wood glue into the hole and insert the dowel, leave to dry. Optional: You can paint or stain the wood to your chosen colour at this stage, or leave natural.
Pattern:
Download the pattern linked above and print at 100% on an A4 sheet. Cut out the pattern with the paper scissors. This pattern includes a 1/4″ seam allowance. Cut out the amounts listed on each of the pattern pieces.

Cut out 4 of the christmas tree shapes. Cut out 2 of the rectangle shapes.

Open up the 4 tree shapes and lay 2 right side to right side, matching up the outline of the trees. Repeat on the other two. Lay flat of the table and match the smaller branches together, as shown in the picture below. Machine sew along the left side of the tree in the left of the image and the right side of the tree on the right of the image below. Starting from the line marked on the pattern at the base of the tree and making your way up to the tip.

Take your time and reposition the material as often as necessary to work your way around the tree branches. This will leave the centre pieces un-sewn. See video attached below. Tip: leave the needle in the material and lift the presser foot when you need to move the material, this will keep your line of sewing continuous.
Lay the rectangle material right side to right side and sew along one of the longer sides only, leave a section about 1″ in width at the centre of the line un-sewn. Open up and press the seams flat. Open up the village christmas trees and place the pieces right side to right side.

Line up along the circumference and pin together.

Machine sew the two pieces together, starting at the line on the base and working your way around the complete tree as previously shown, finishing at the opposite marked line.

This will leave a square opening at the base of the tree. Insert the square piece of material into the base of the tree and pin in place. Machine sew.

Snip off any excess material from the tips of the tree branches and snip into the corner bases of each of the branches. This will allow for a smooth turning of the material when the tree is right side out. Note: Be careful not to snip through any of the lines of sewing. Turn right side out through the un sewn section at the base of the Christmas Tree. Use the chopstick to gently push out each of the branches.

Press out each of the branches and machine sew 4 lines at an angle from the top to each corner of the bottom square. See video attached below.
Fill the centre of the tree with craft filler, leaving a space in the middle to insert the wooden dowel.

When inserted hand sew the opening closed around the dowel.

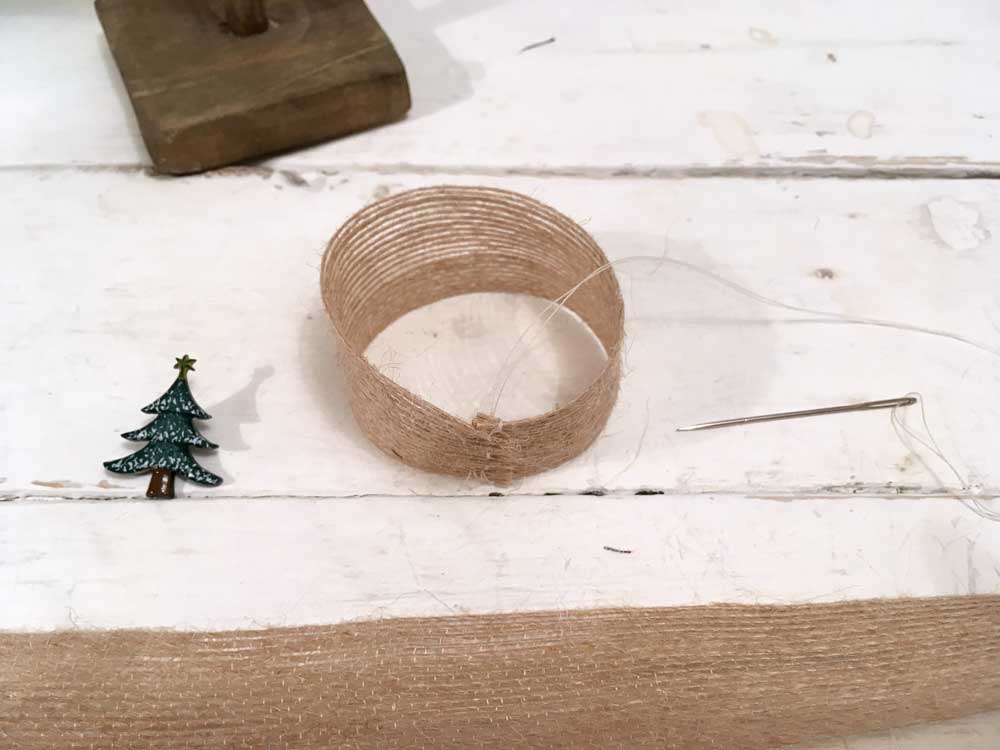
Cut off two lengths of the hessian ribbon, one that is 6″ and the second 14″.

Hand sew the ends of the smaller circle together. Press the circle flat lining up the sewn section into the centre.
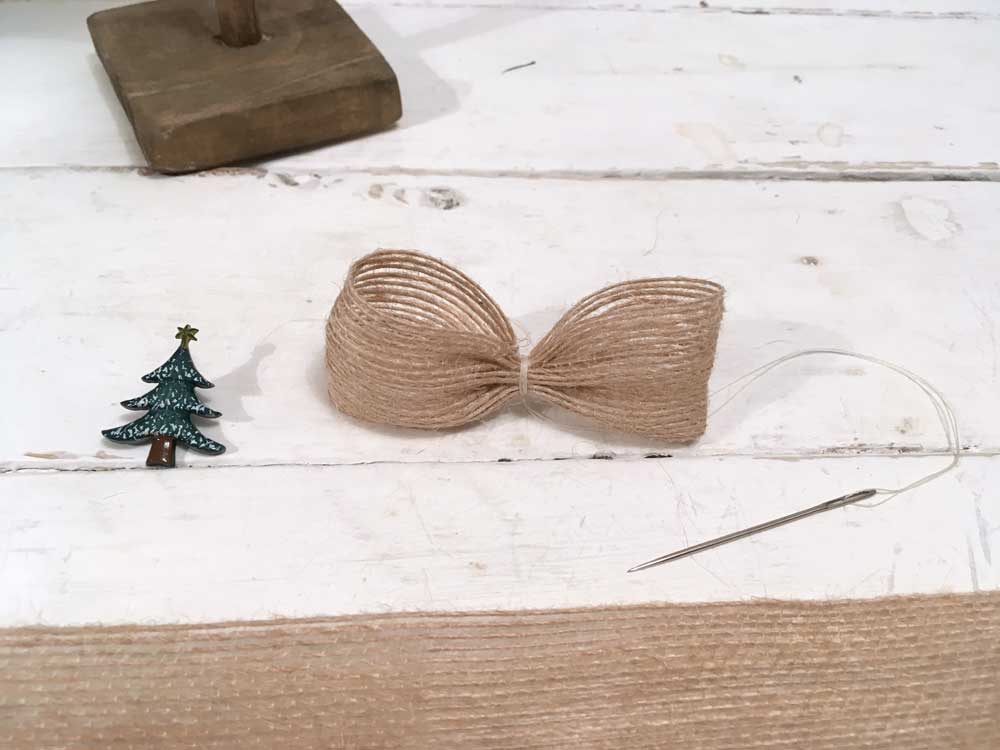
Wrap the thread around the centre and tighten to make the bow section.
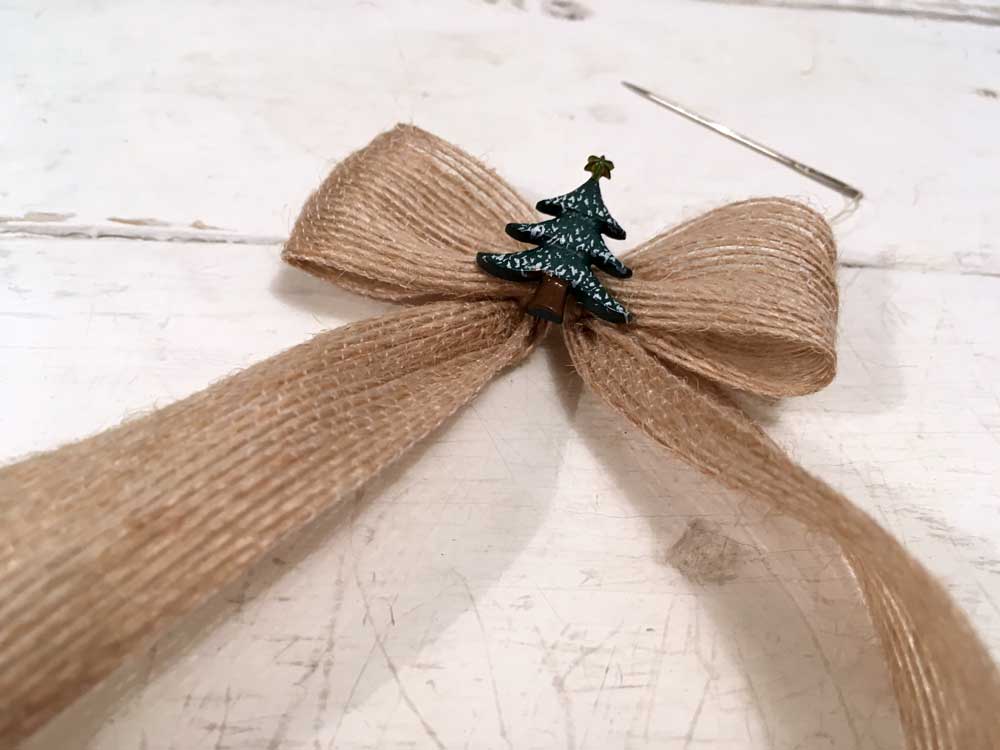
Sew the christmas tree button onto the centre of the bow. Fold the long ribbon in half and sew onto the back of the bow.
Sew the rest of the Christmas tree buttons onto the tree and sew the bow onto the top.

My Book – Sewing Animal Dolls

Trackbacks/Pingbacks