Free Betty Rag Doll Sewing Pattern
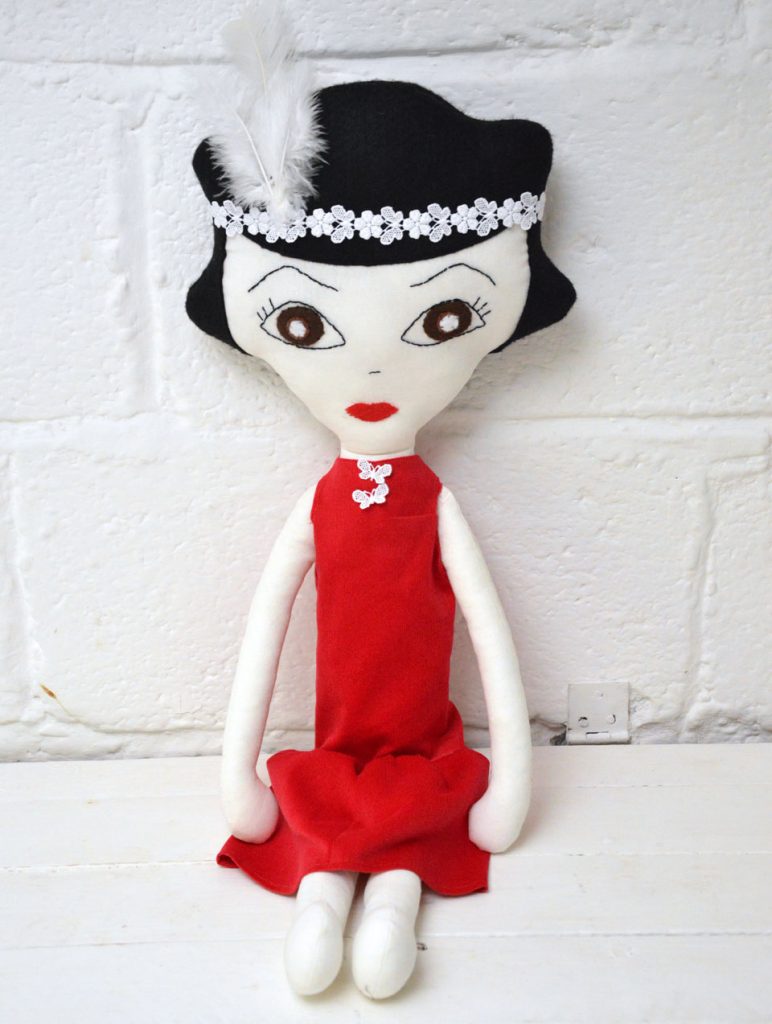
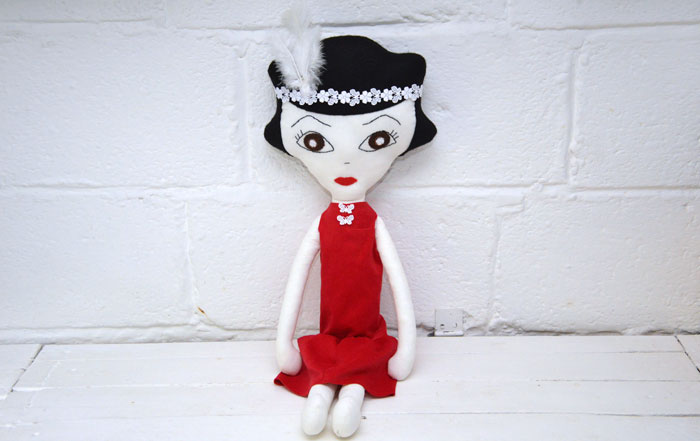
The Betty Rag Doll Sewing Pattern is my first pattern release as part of the Sew Crafty Design Team. She is inspired by 1920’s bisque dolls, one of which I had when I was a kid. She is quite tall measuring 28″ in total and the pattern includes her basic red flapper inspired dress. Over the coming weeks I will be adding more items of clothing to make for her wardrobe. Until then I do hope you enjoy making her, and I would love to see your creations when you do 🙂
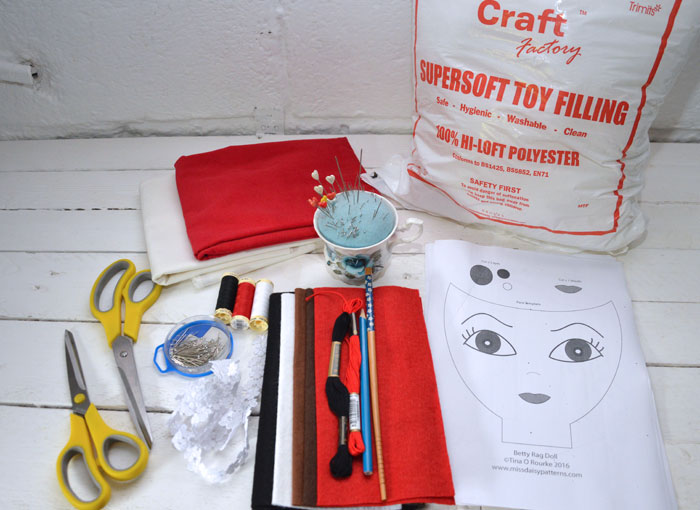
Materials:
- Black felt for the hair

- Scraps of white, dark brown and light brown felt for the eyes
- Scraps of red felt for the lips
- KAUFMAN LINEN WHITE cotton 1/2 metre
- Superfine needle cord red 1/2 meter
- Cotton daisy and butterfly white 1 meter
- Red & Black embroidery thread/floss
- Red, white & black polyester all sew Guttermann machine thread
- Polyester craft filler
- Feathers for the headpiece
- 1 small snap fastener
Tools:
- Paper and fabric scissors
- Pins
- Sewing needles
- Chopstick
- Tailor chalk pencil blue
- Printer & A4 paper
The full Betty Rag Doll Sewing Pattern is available to download
To make:
Download the Betty Rag Doll Sewing Pattern linked above and print out at 100% on A4 paper. Cut out each pattern piece with the paper scissors. Pin each piece to the materials and cut out with the fabric scissors. Hair front and back cut form the black felt. Head, body, arms and legs from the white cotton. Eyes and lips from the scraps of felt. Dress from the red cord, also cut out a rectangle that is 6 1/2″ x 19″, this is for the bottom of the dress. Leave the sewing pattern pieces aside.

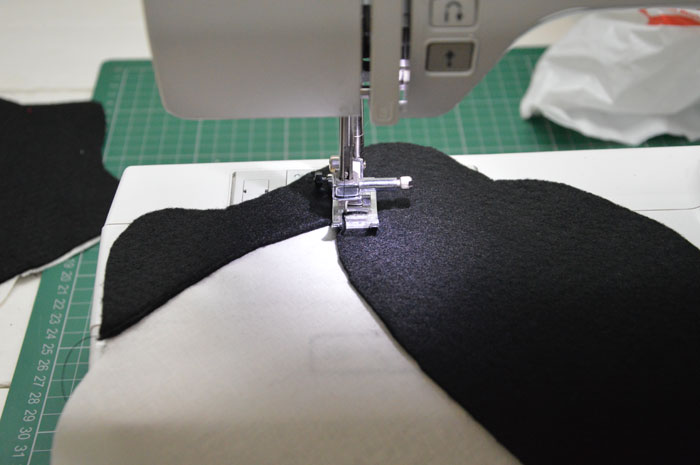
Place the black felt pieces over the main head cotton sections and line up the hair around the circumference of the top of the head. Using the black thread machine sew the hair in place around the outline of the face and at the base of the hairline on the back of the head. There is no need to sew around the outside.

Place the front of the face cotton over the printed face template and trace in the eyes, nose and mouth details with the tailor chalk pencil.
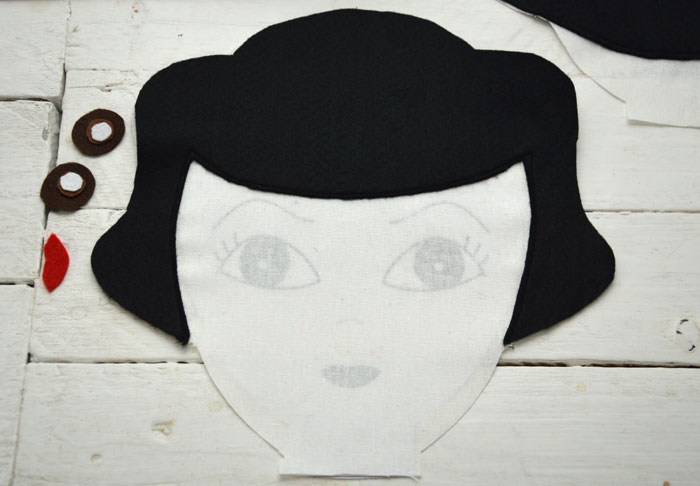
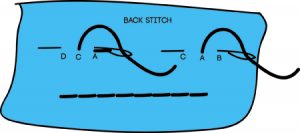
Using a backstitch and 3 strands of the embroidery thread/floss sew in the eyebrow, eye and nose details. Click on the image below for details on how to do the backstitch.
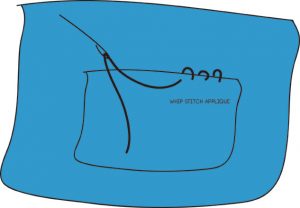
Whip stitch appliqué the layers of the eyes on top of each other and then into the centre of the eye area. Whipstitch the mouth into position using the red embroidery thread/floss. Click on the image below for details on how to do the whipstitch.

Machine sew the head and the body together along the neckline using the white Guttermann thread.
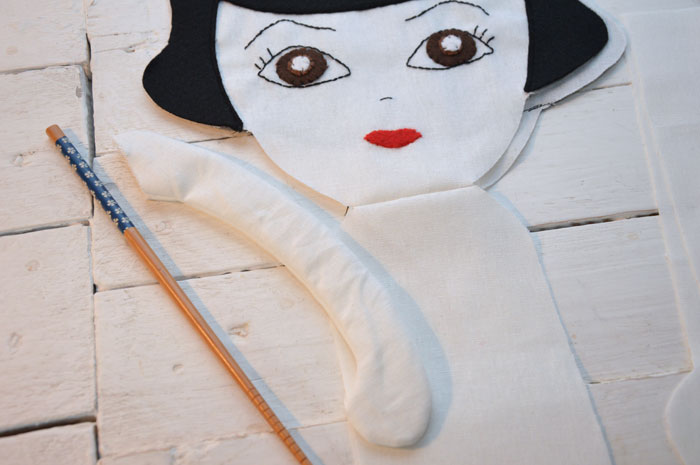
Machine sew the arms and the legs with a 1/4″ seam allowance, make sure to leave the tops of each leg and arm open for turning and stuffing.
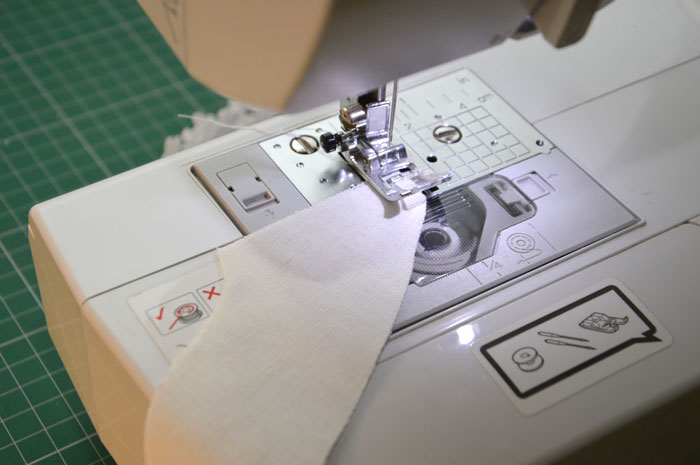
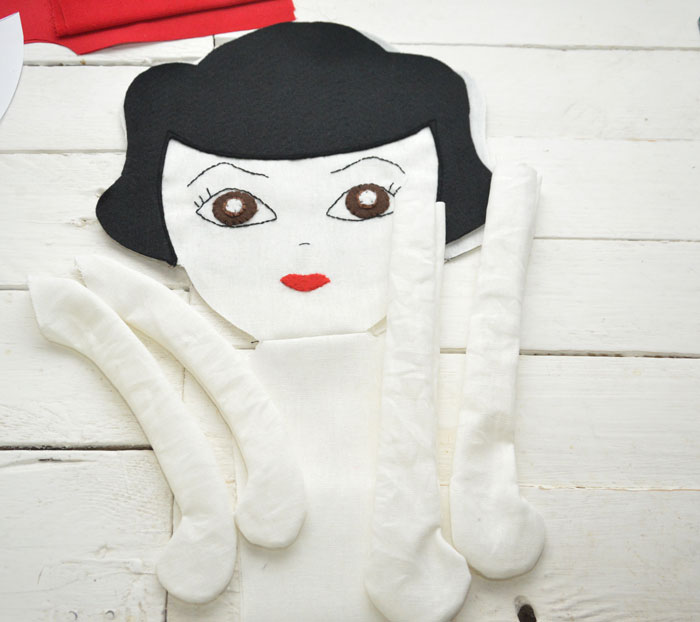
Stuff the legs and arms to about a 1/2″ from the opening and machine sew the openings closed. The top of the legs can be machine sewn together in a straight line.
The chopstick can be used to push the stuffing into the curves.
Note: Don’t push too hard as you don’t want to rip the seams.

Line the arms against where the body starts to slope just below the neck.

Place the arms flat against the body and machine sew in place onto the front section only.

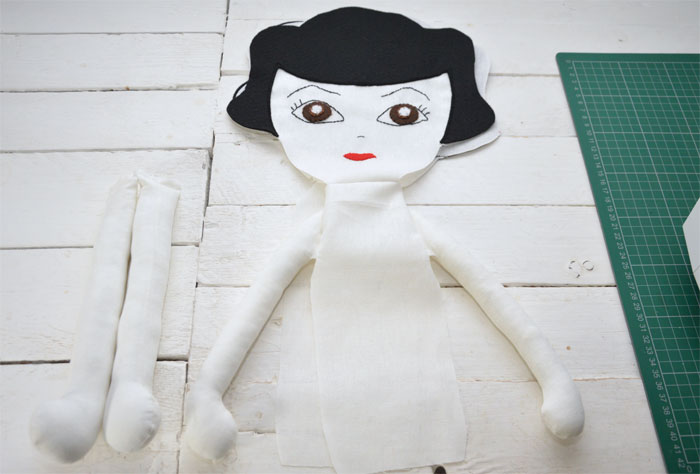
Place the back of the head and body over the front and the arms, rights sides facing together and pin in place.
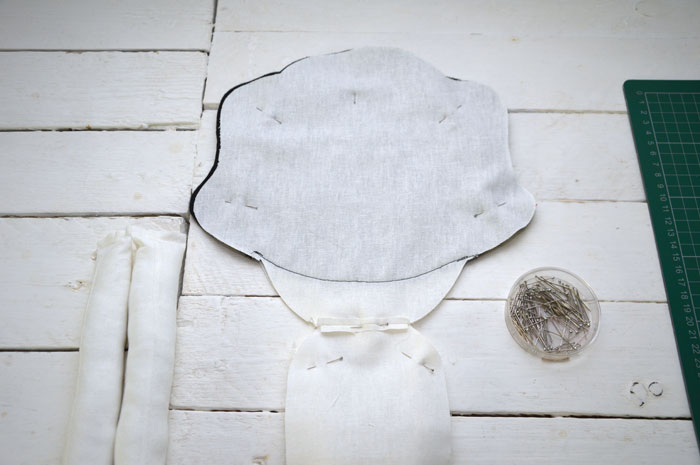
Machine sew all around the body and the head, leaving the bottom of the body open for turning, attaching the legs and stuffing.
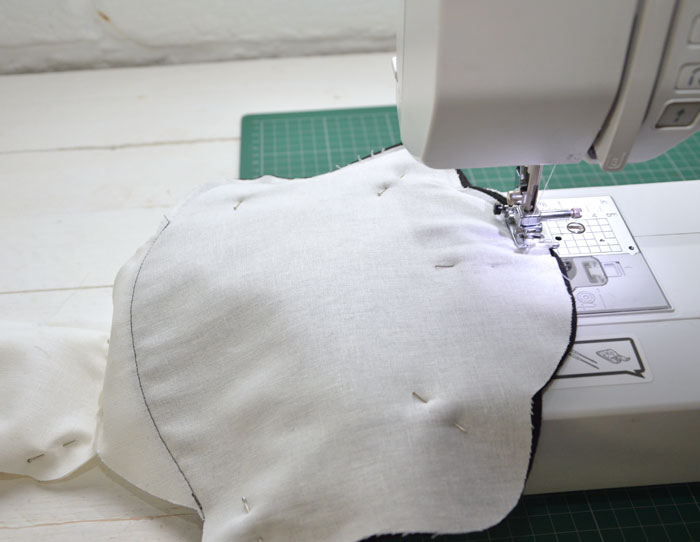
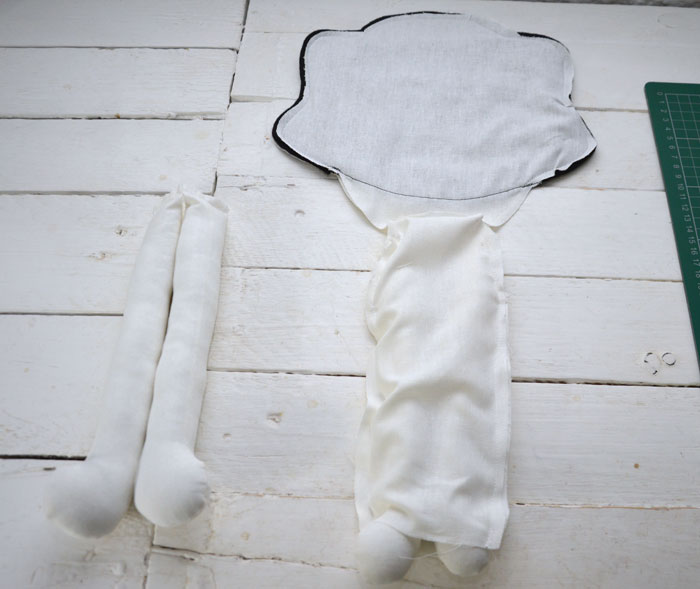
Turn the doll right side out, start by pulling the arms through.

Then push the top of head down towards the neck.
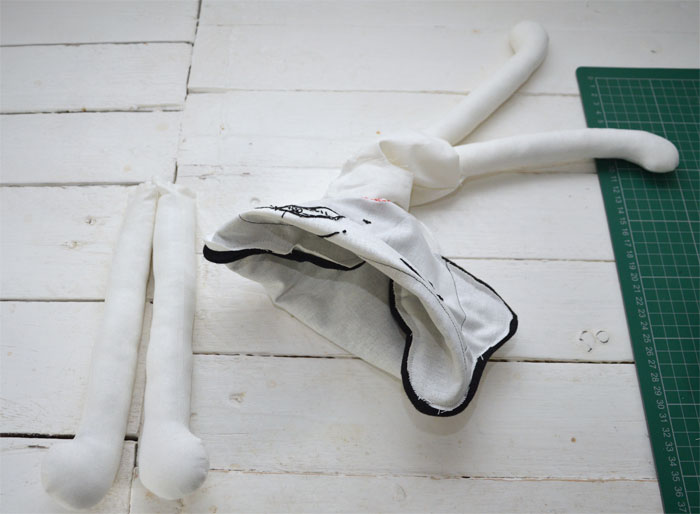
Grabbing the top of the head from inside the neck pull the full head through.
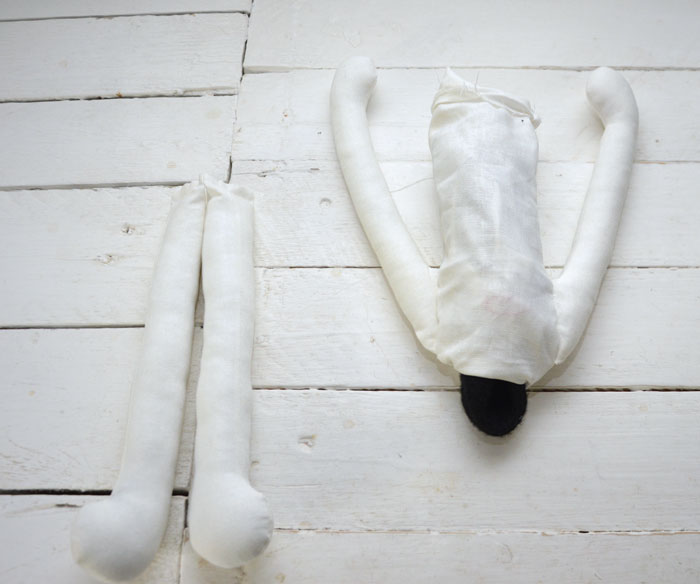

Using the chopstick again you can push out the curves of the hair and face.

Stuff the head and the body.
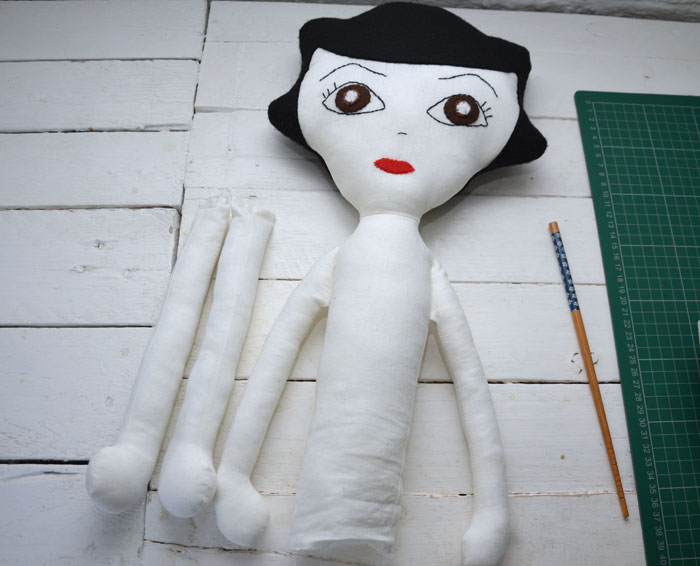
Attach the legs to the front base of the body, folding the front of the legs over the body. Pin, tack and machine sew in place.
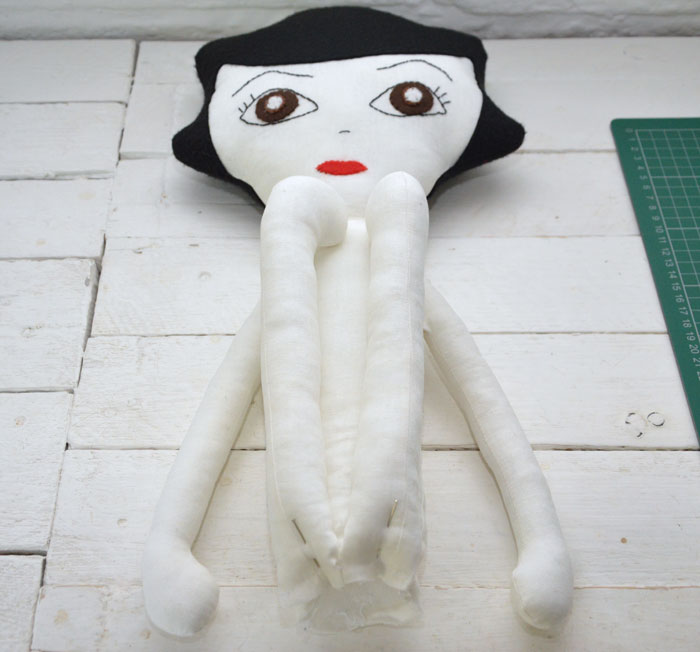
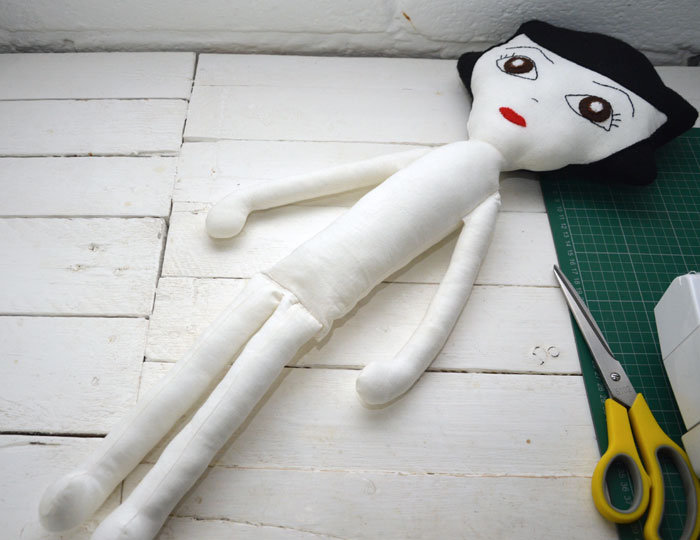
Close up the back of the legs and the body using the ladder stitch. Click on the image below for details on how to do the ladder stitch.
Making the Dress: Place the two back sections over the front section, right sides to right sides.
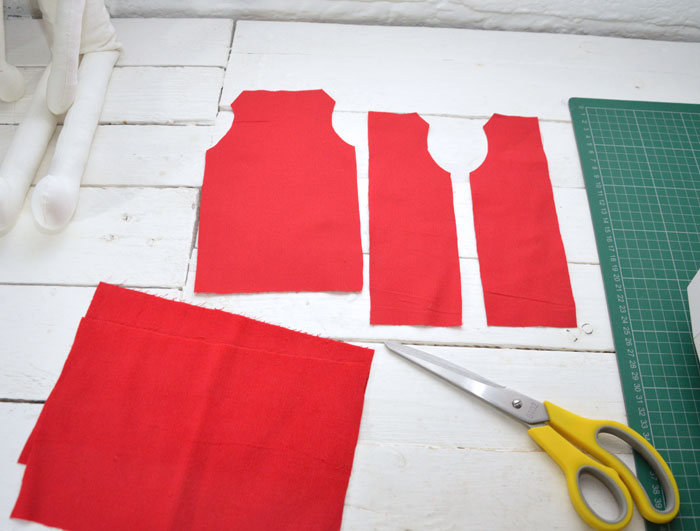
Machine sew along the top of the shoulder sections with the red Guttermann thread.
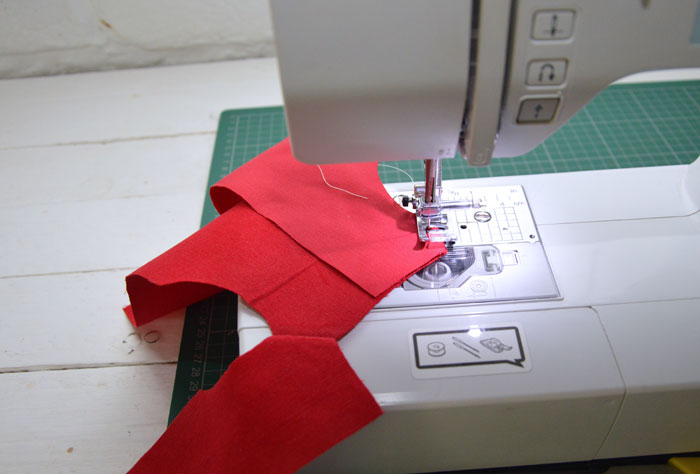
Turn a single hem around the neck and the arm holes and machine sew.

Machine sew the sides of the dress top together. Turn a single hem along the length of one side of the 6 1/2″ x 19″ material piece. Run a single row of machine sewing along the parallel side, with the stitch length set to 5 and do not do any back stitching. Pull the top thread of the machine stitching gently to create a gathered top to the skirt section of the dress. Open up the top and lay flat on the table. Line up the top and skirt of the dress right side to right side and machine sew together.
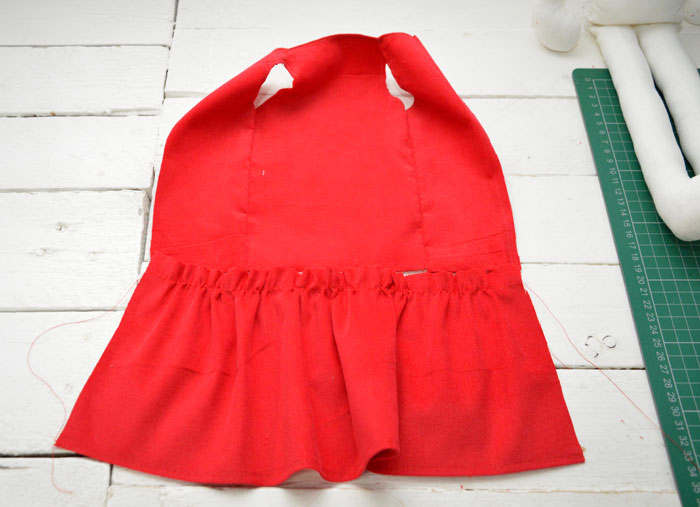

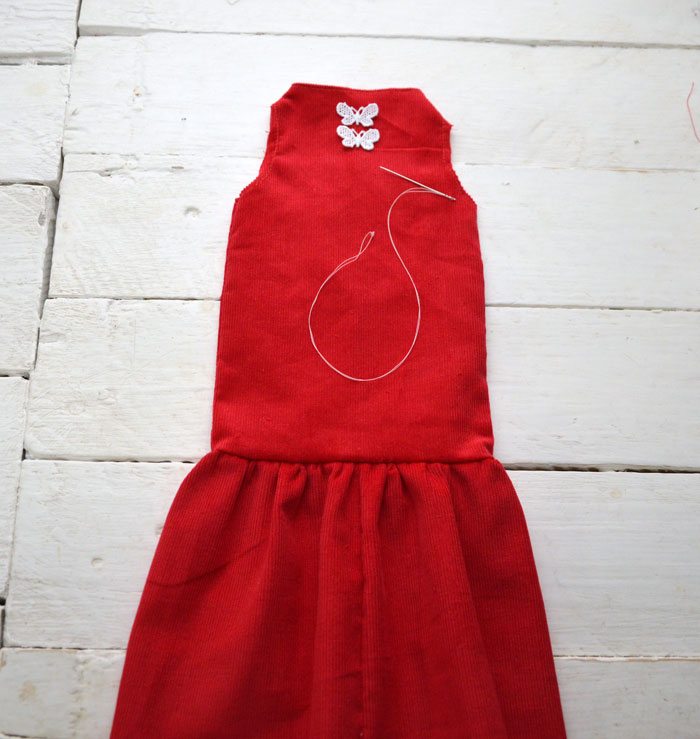
Place the back sides of the dress together, again right side to right side, measure down 9″ from the top and machine sew together down to the bottom of the skirt. To finish off, machine sew a single hem along the open sides of the back of the dress. Finally sew on two of the butterflies from Cotton daisy and butterfly trim to the front, sew a small snap fastener onto the back of the dress and cover on the outside with one of the daisy trim sections.
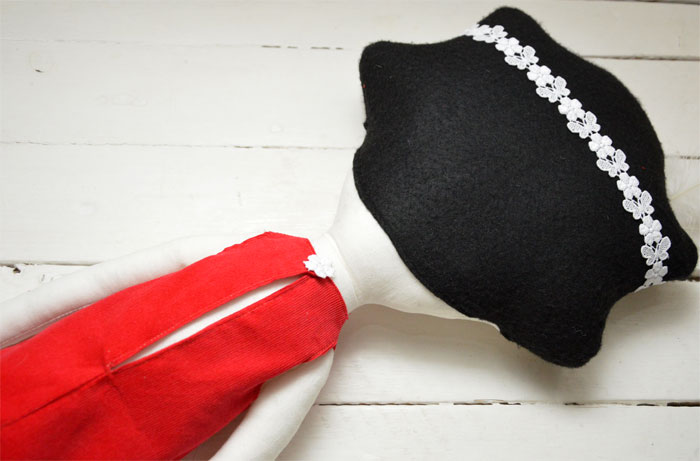
To make the head band, tie three feathers together, measure the amount of Cotton daisy and butterfly trim you need to go around the circumference of the head, sew the feathers to the trim and sew the trim closed into a circle.

Place the dress and the head piece onto the doll.



Great tutorial. I love her headband!
Zoe | floral and feather
Thanks Zoe 🙂