My little Elf – Free pattern
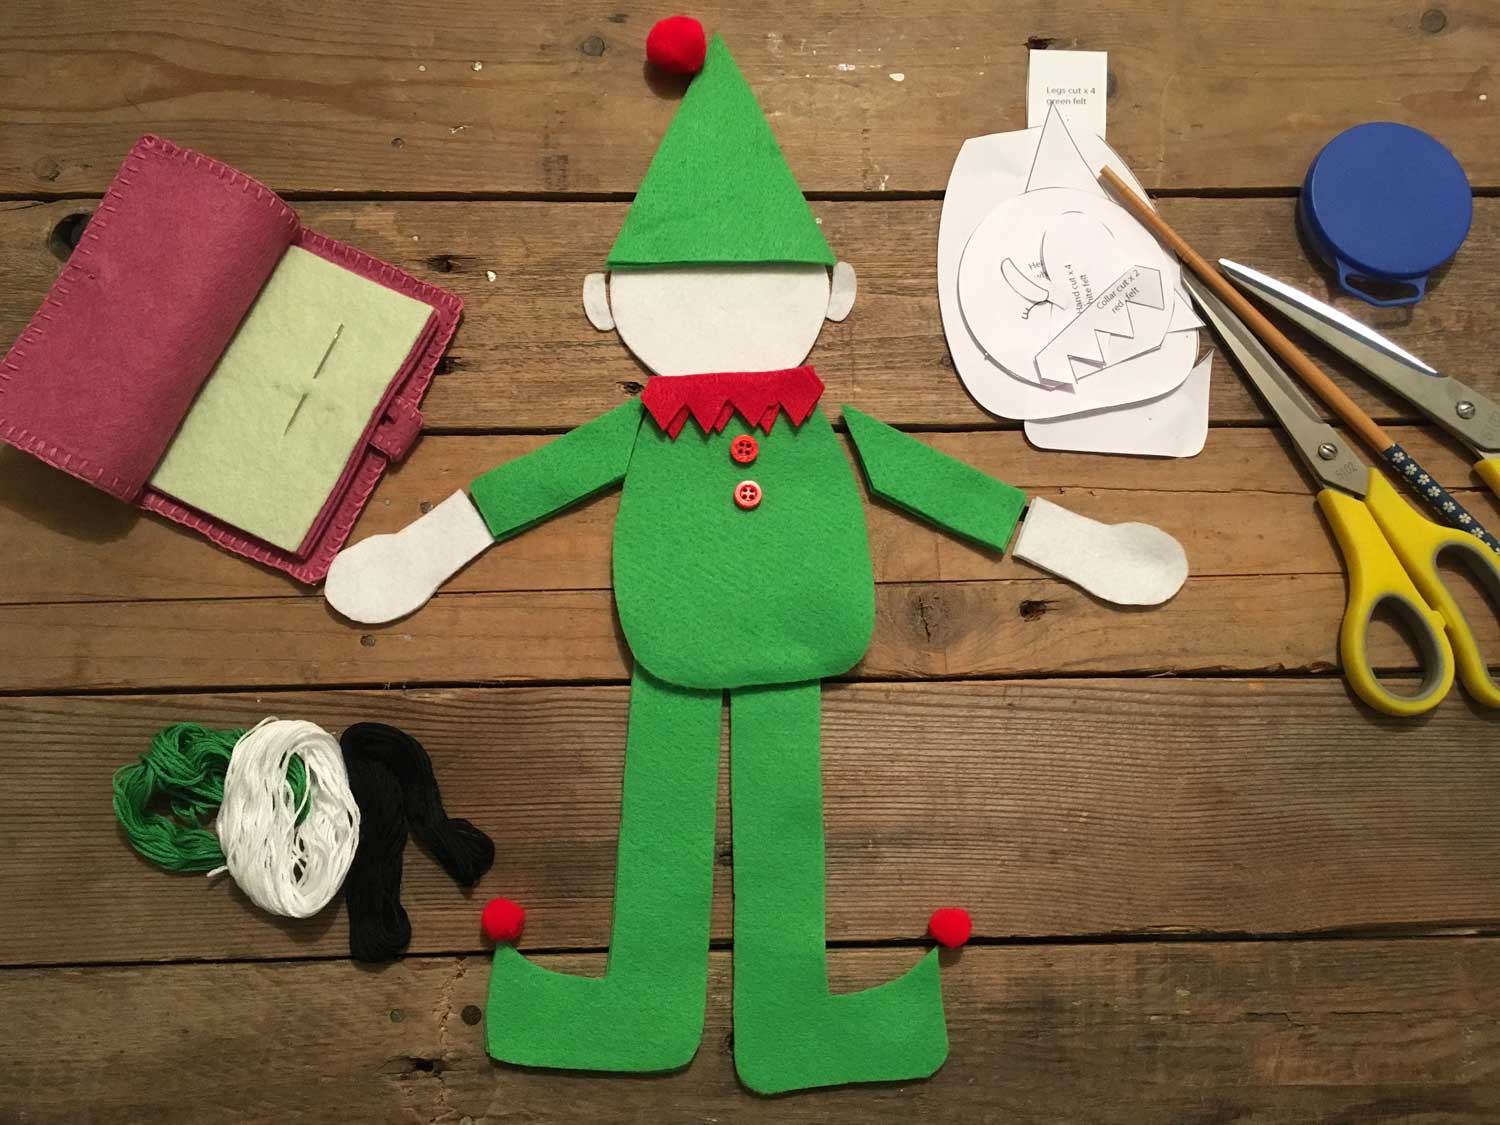
Happy first of December and to celebrate I decided to create my very own little elf, as inspired by elf on a shelf. I’ll just have to find a nice cosy shelf now to sit him on. The finished Elf with his hat on measures 17″ from top of the hat to the bottom of the feet.
Tools:
- Scissors (paper & material)
- Embroidery sewing needle
- Pins
- Chopstick
- A4 printer & paper

Materials: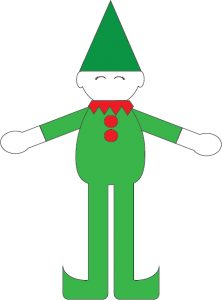
- 2 sheets of A4 green felt
- Scraps of red felt
- 1 sheet of A4 white felt
- Black, white & green embroidery thread/floss
- Craft filler
- 2 red buttons
- 2 small & 1 large pompoms
Download the patterns click here Pattern 1 Pattern 2
To Make:
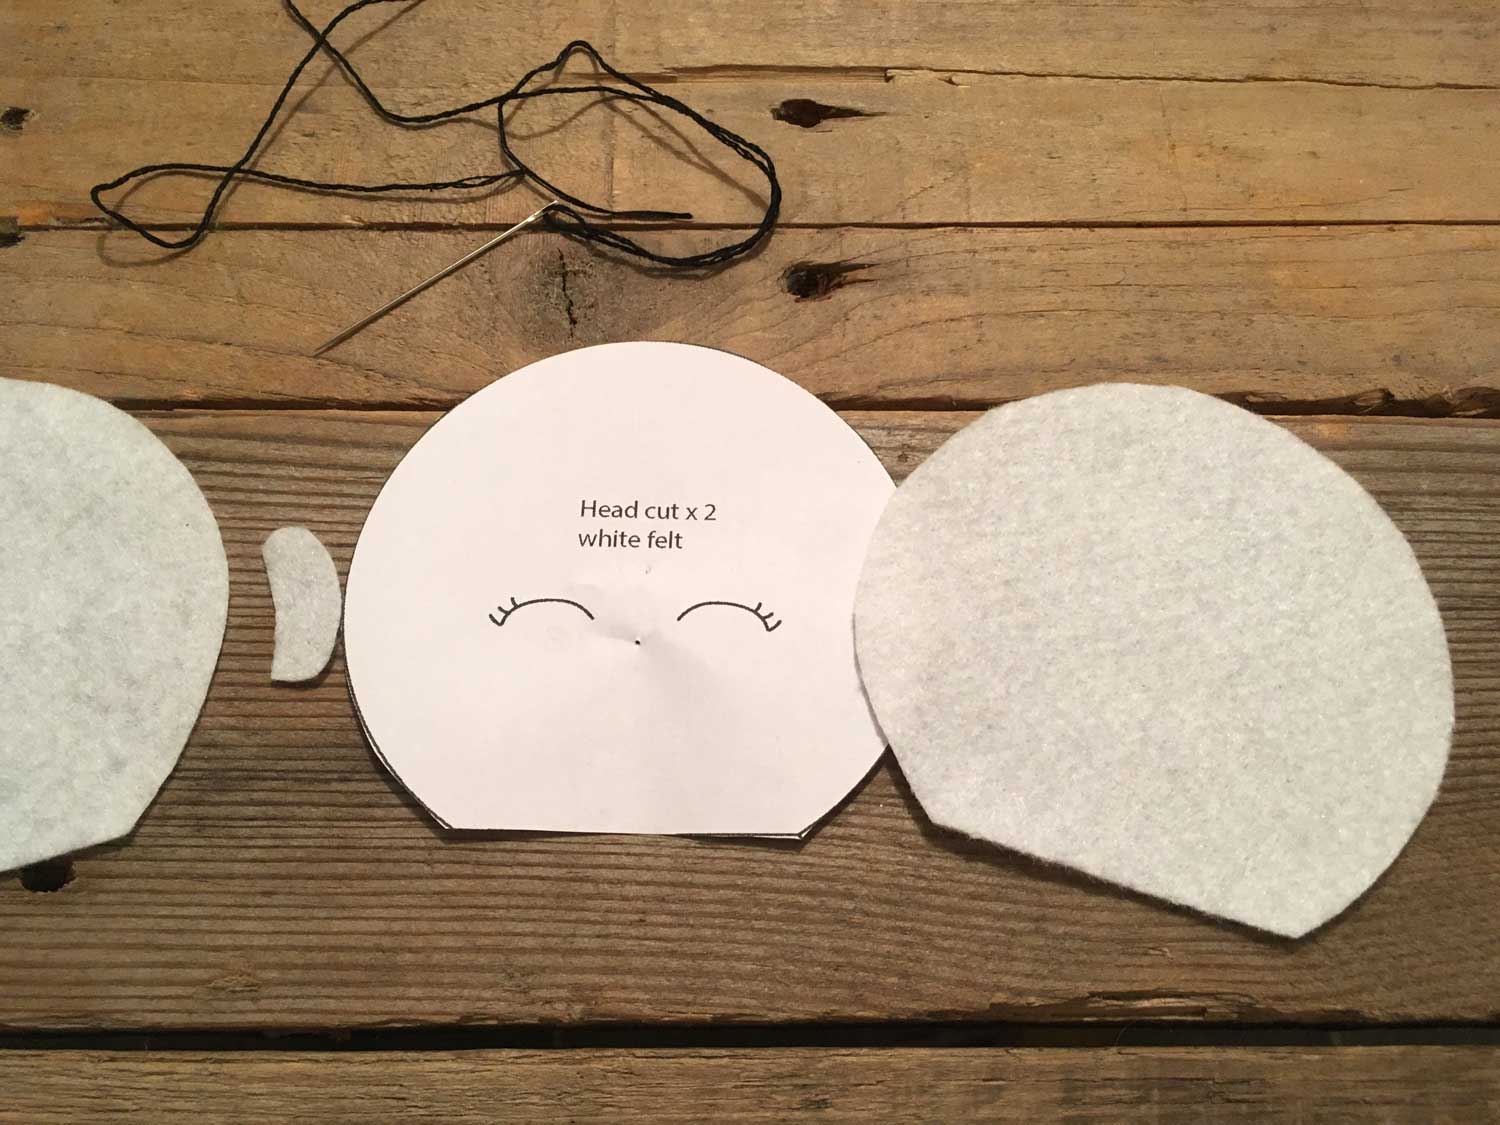
Download the pattern linked above and print at 100% on an A4 sheet. Cut out the pattern with the paper scissors in the amounts listed on each of the pattern pieces in the specified felt colours.
Using the back stitch sew the eyes in place on one side of the white felt face. Use the pattern as a guide for the eye positions. Use 3 strands of the black embroidery thread.
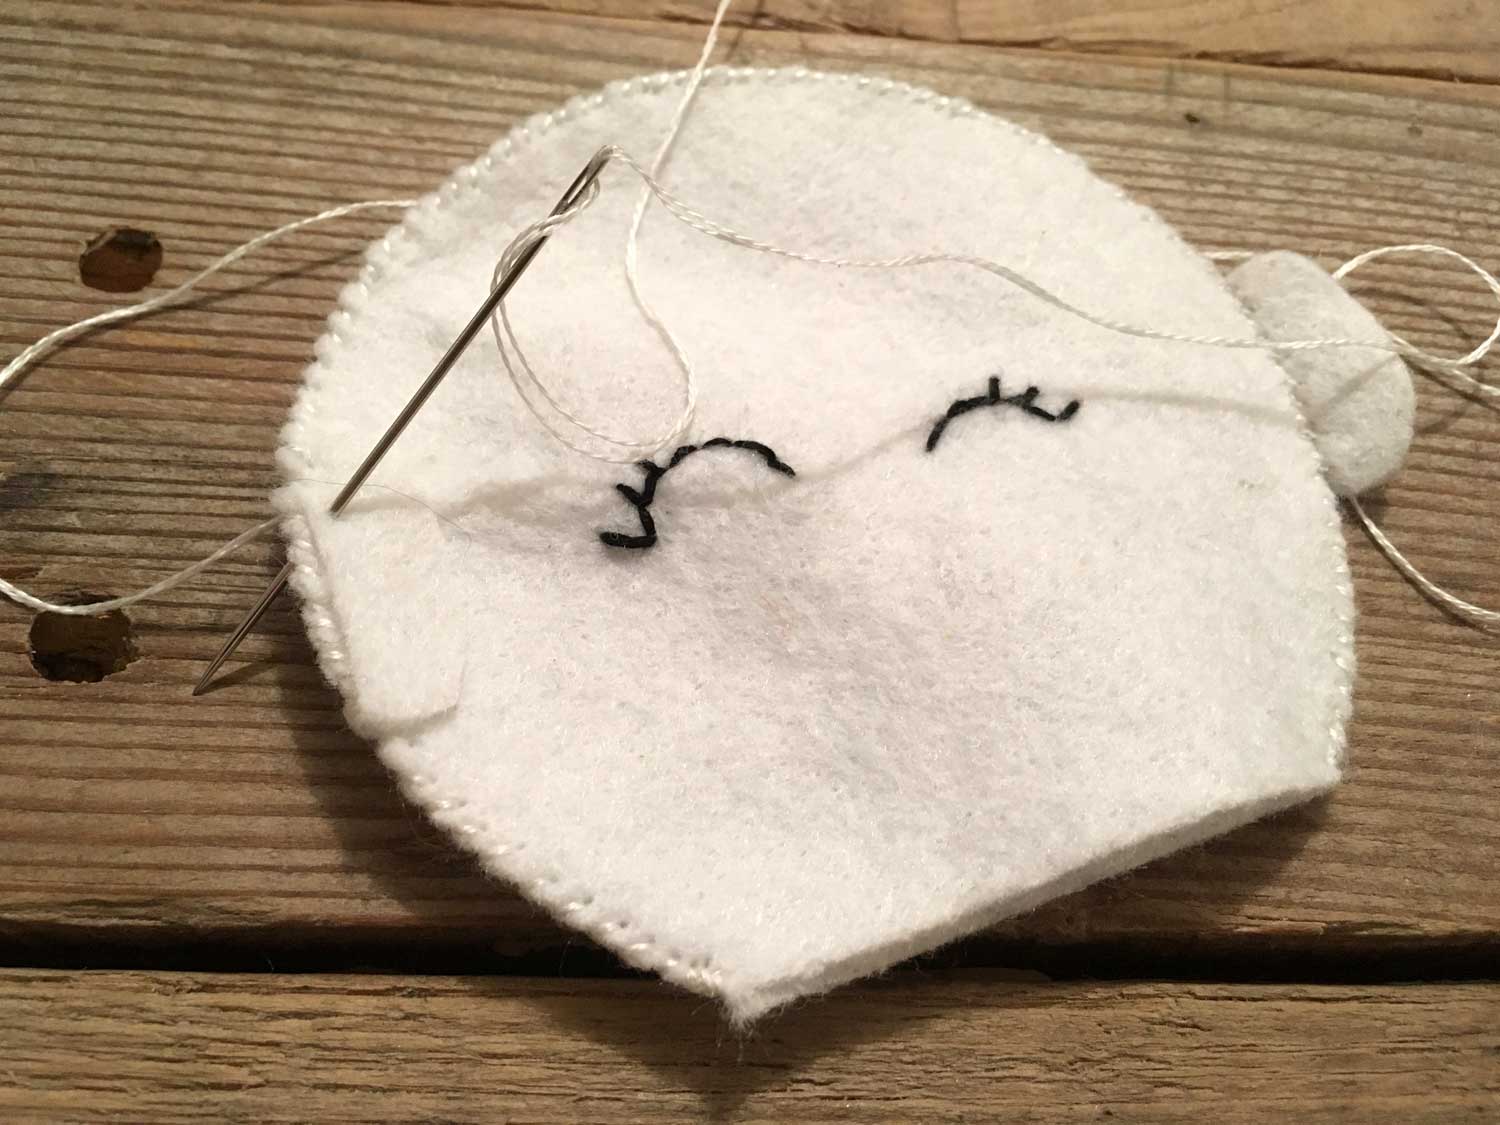
Using 2 strands of the white embroidery thread/floss whip stitch around the head leaving the neck area un-sewn.

Whip stitch the ears onto the sides of the head.
For the next step whip stitch the white felt hands to the green felt arms along the wrist area.
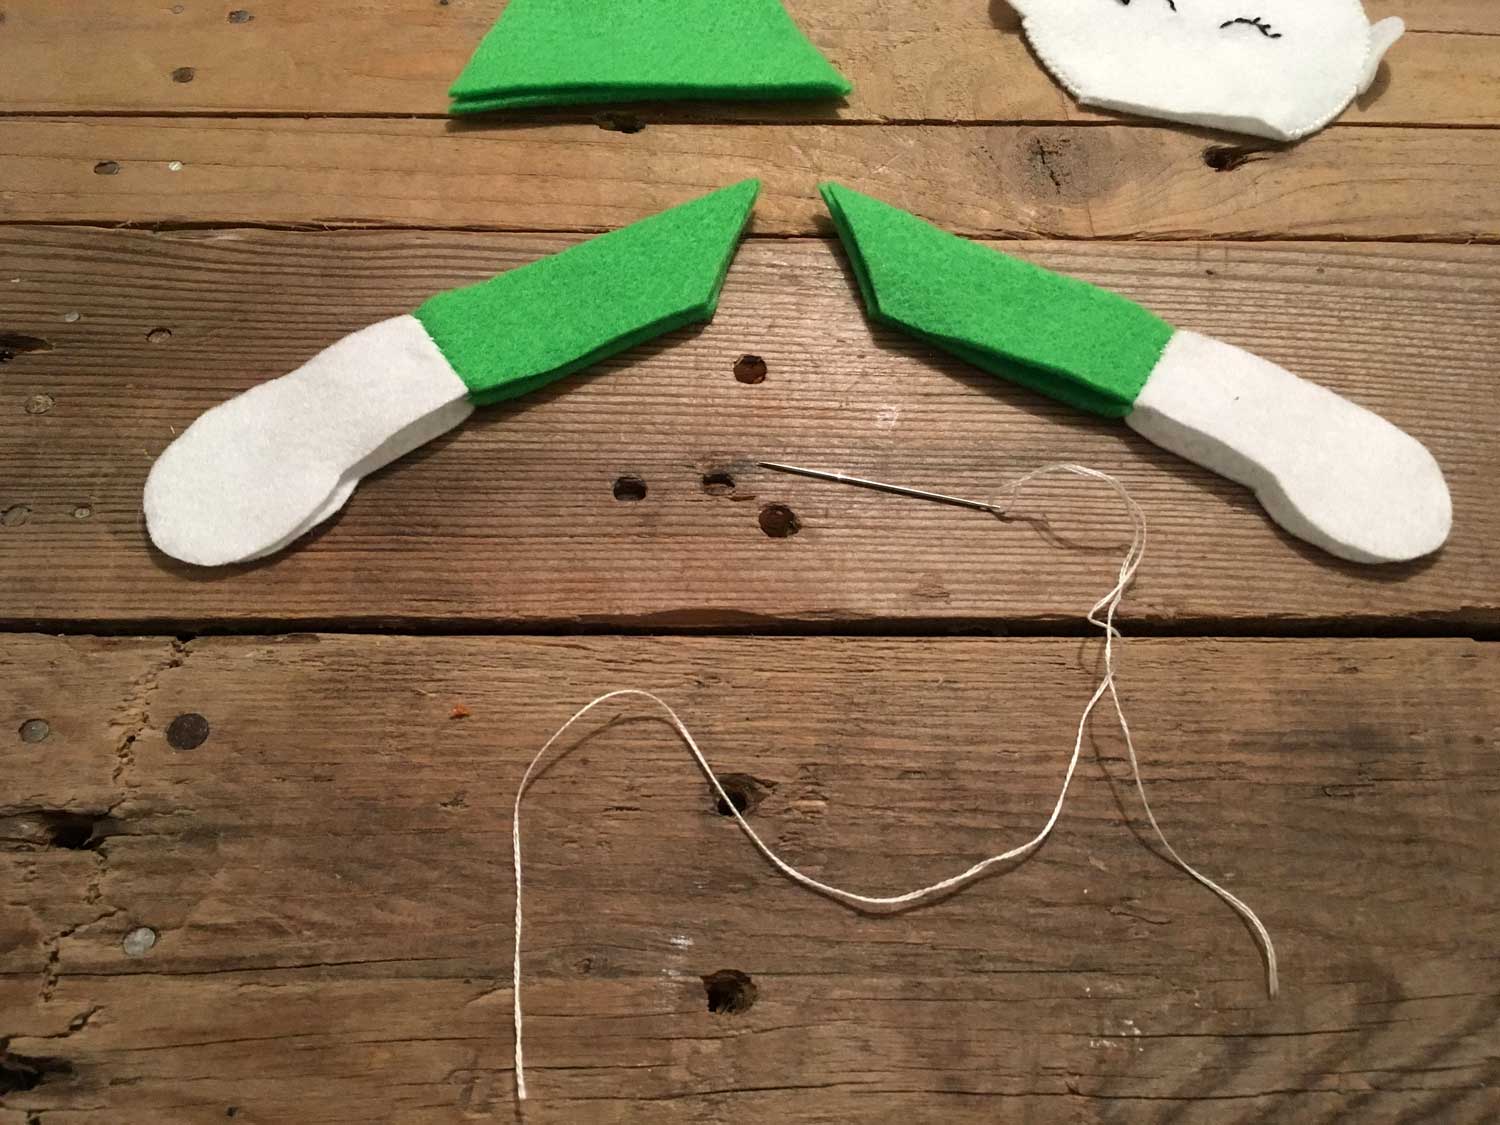
Place the front and the back of the arm together and whip stitch around the circumference of the arm. Leave the shoulder area un-sewn. (Sew the green area with 2 strands of green embroidery thread/floss and the white areas with 2 strands of white embroidery thread/floss)
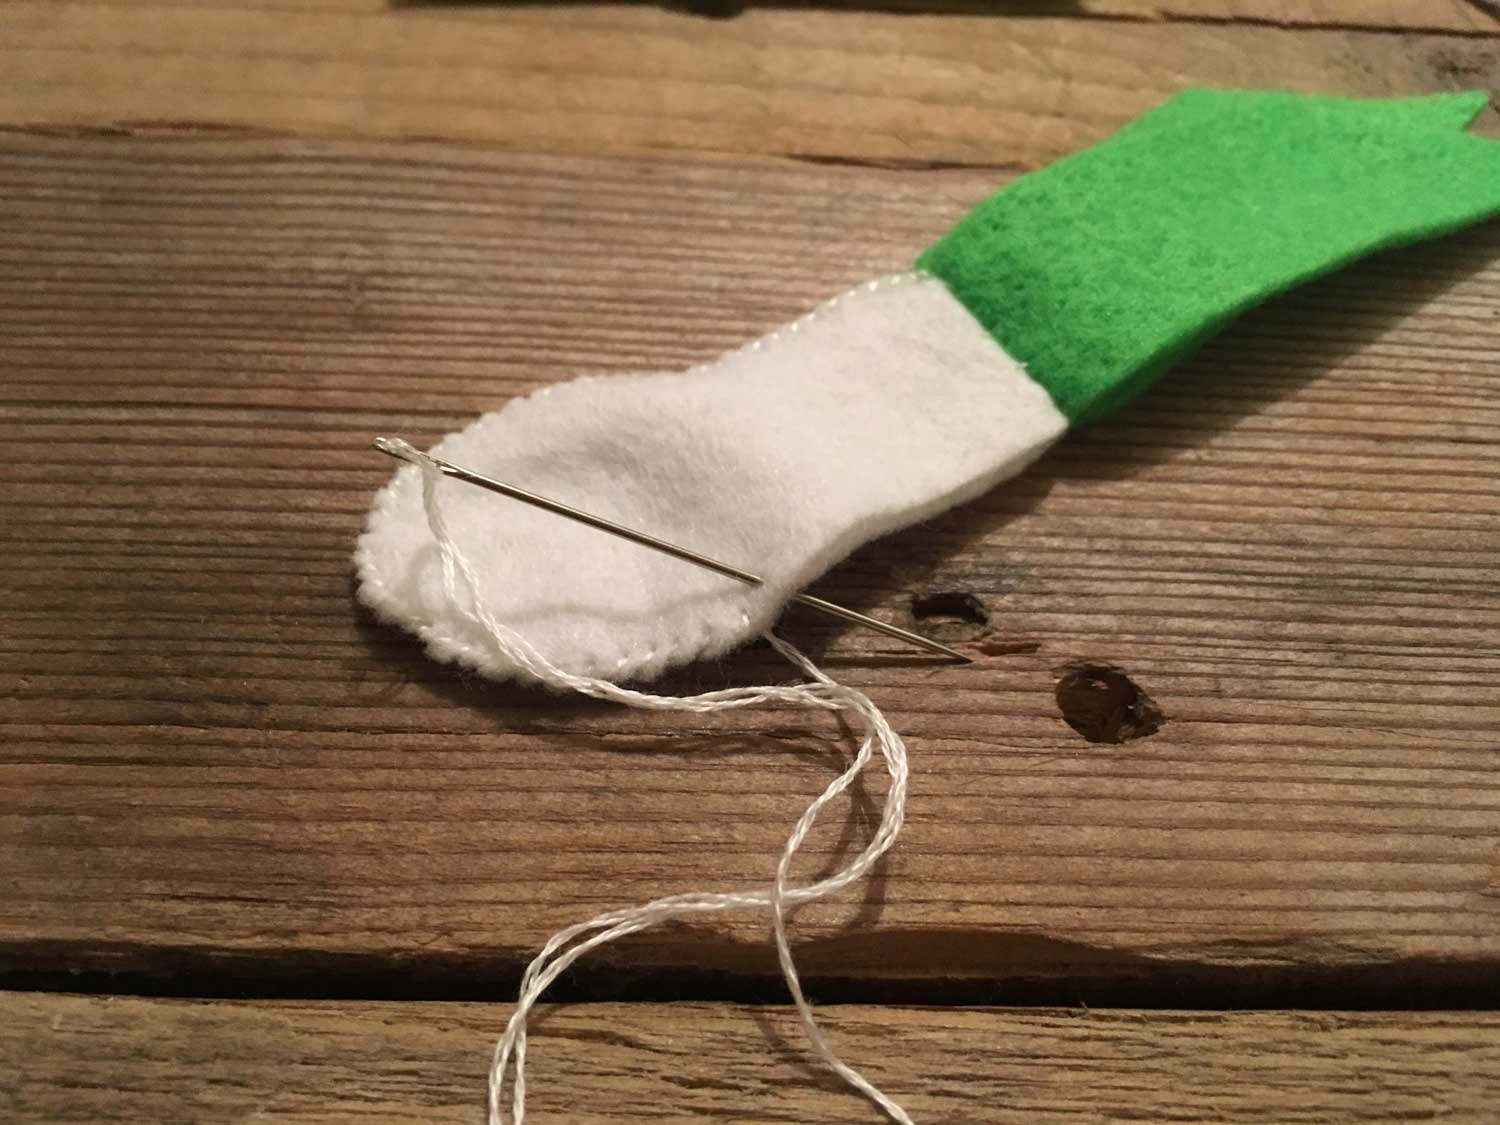
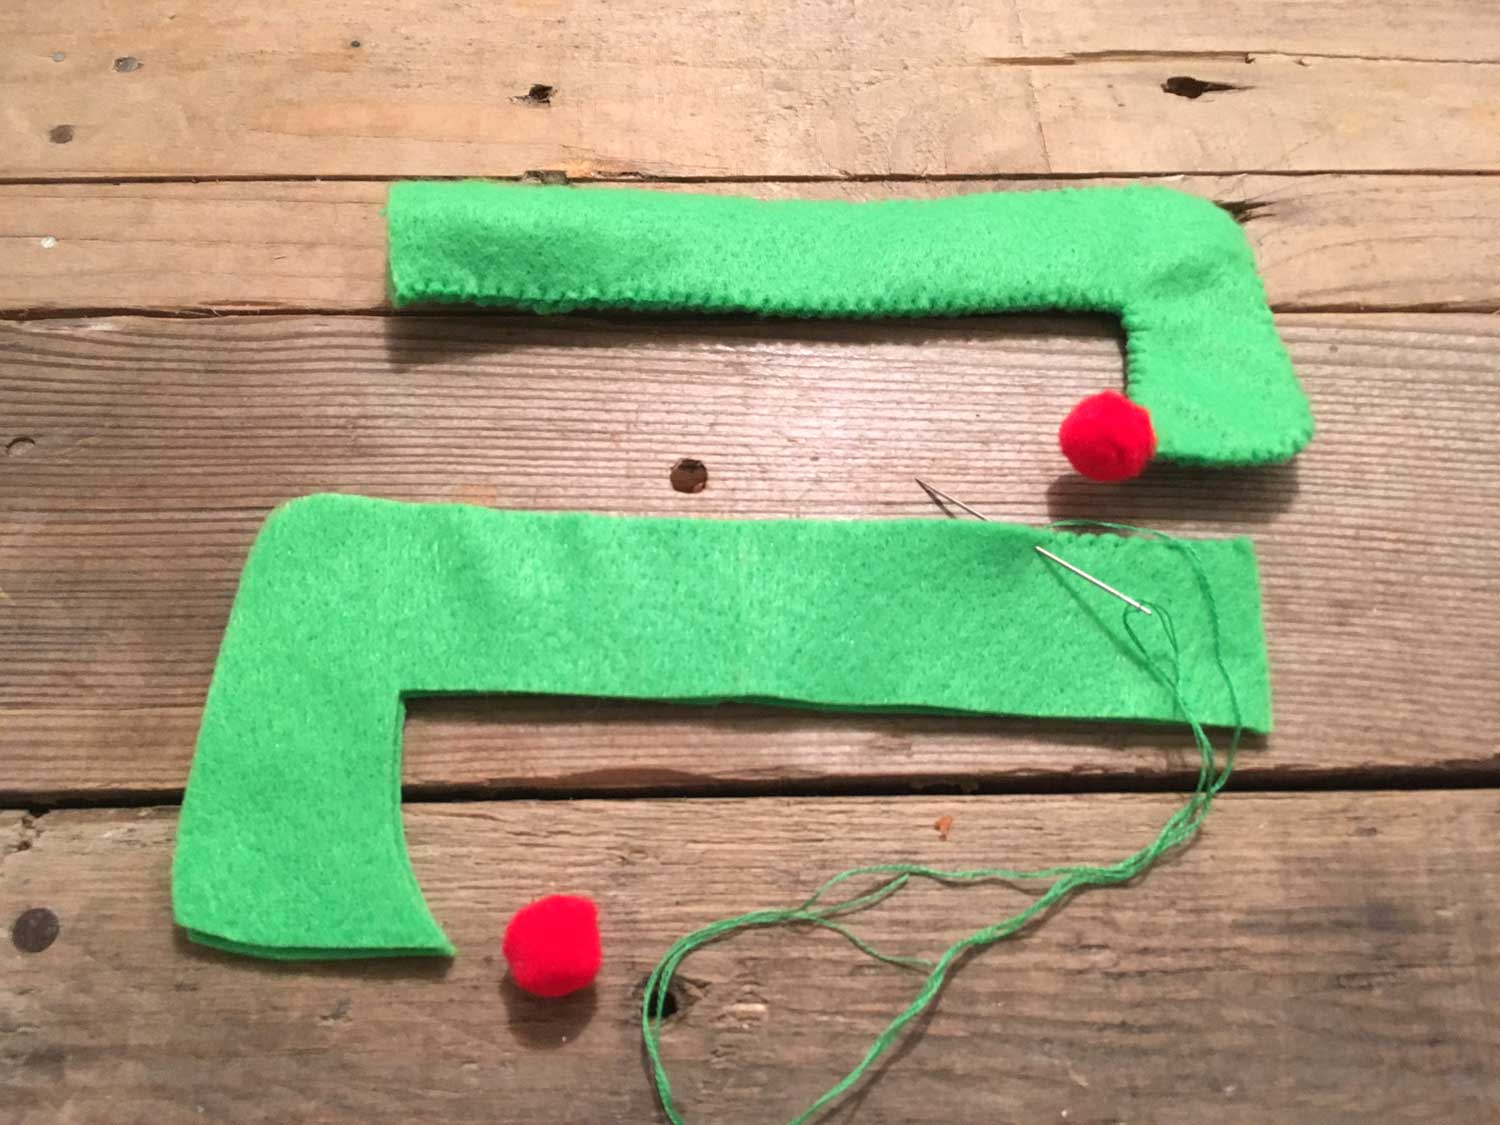
Whip stitch the legs, again with 2 strands of the green embroidery thread/floss.

Sew the small red pompoms to the top of the toes. Leave the top of the legs un-sewn.
Sew the two small buttons onto the front of the elf body just below the collar area.

Whip stitch the body together leaving the top of the neck area un-sewn.

Whip stitch the hat together and sew the large pompom onto the top of the hat. All of the pieces are now sewn and ready to be assembled.

Stuff each piece firmly, using the back of the chopstick to move the craft filler into position gently.

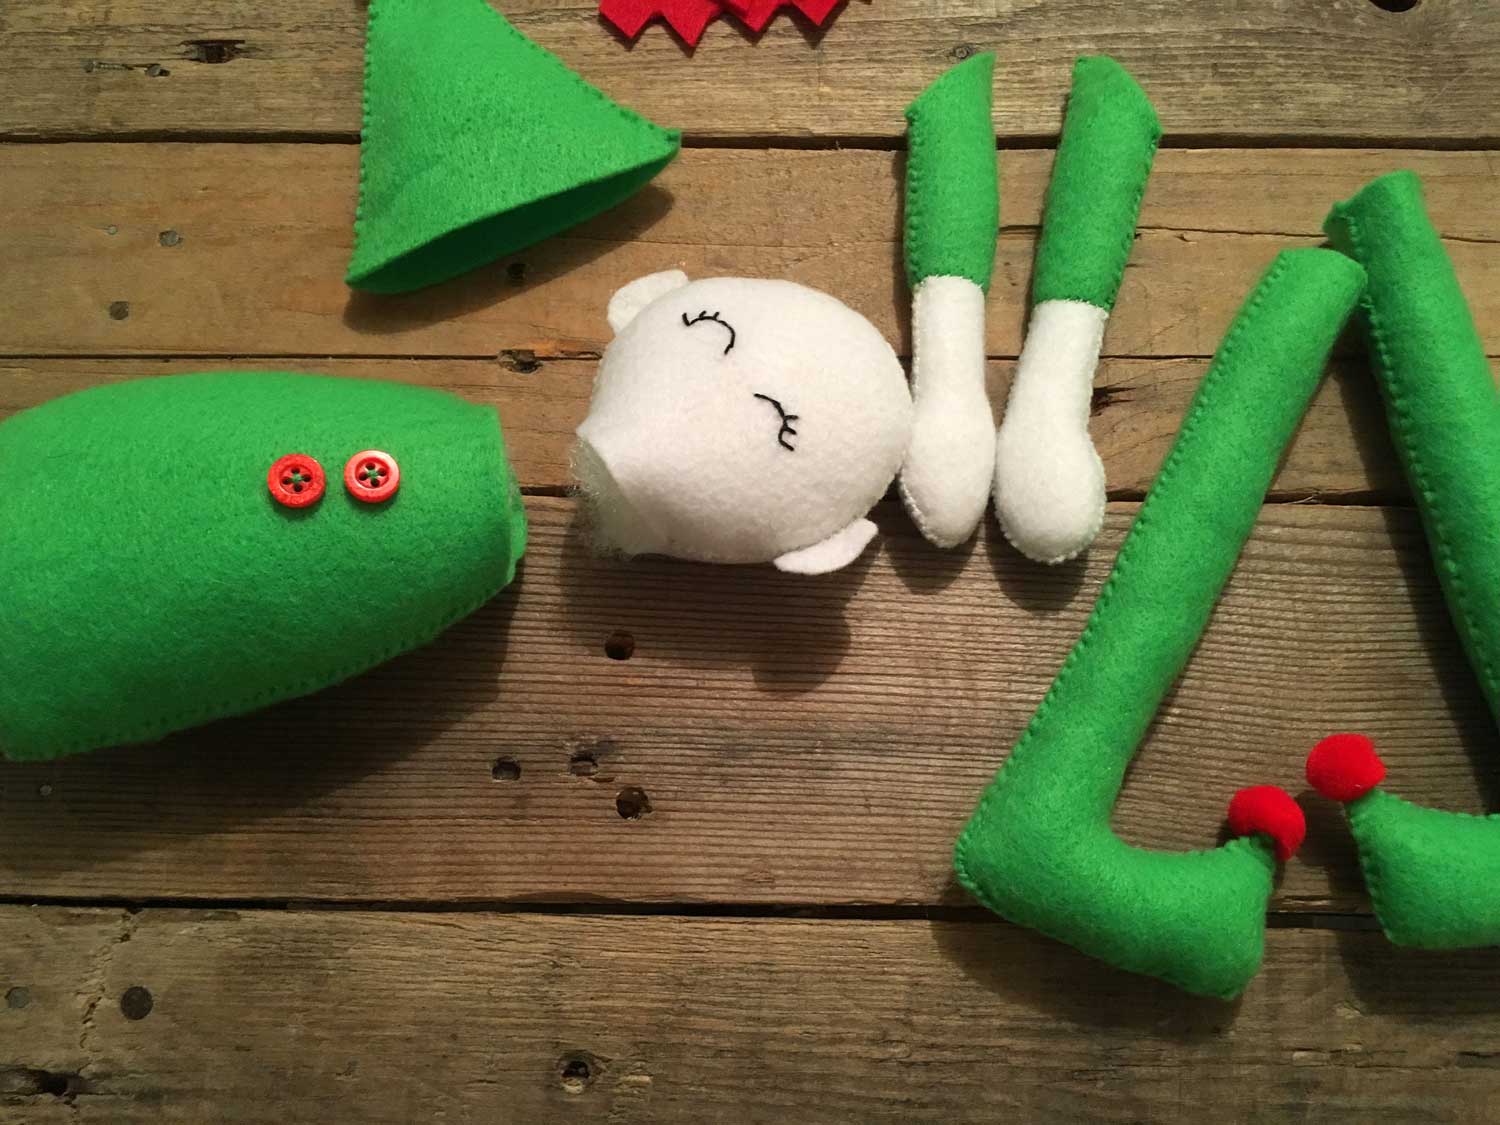
Finally whip stitch the head onto the body and sew the collar in position around the neck area.

Whip stitch the arms and legs into position.
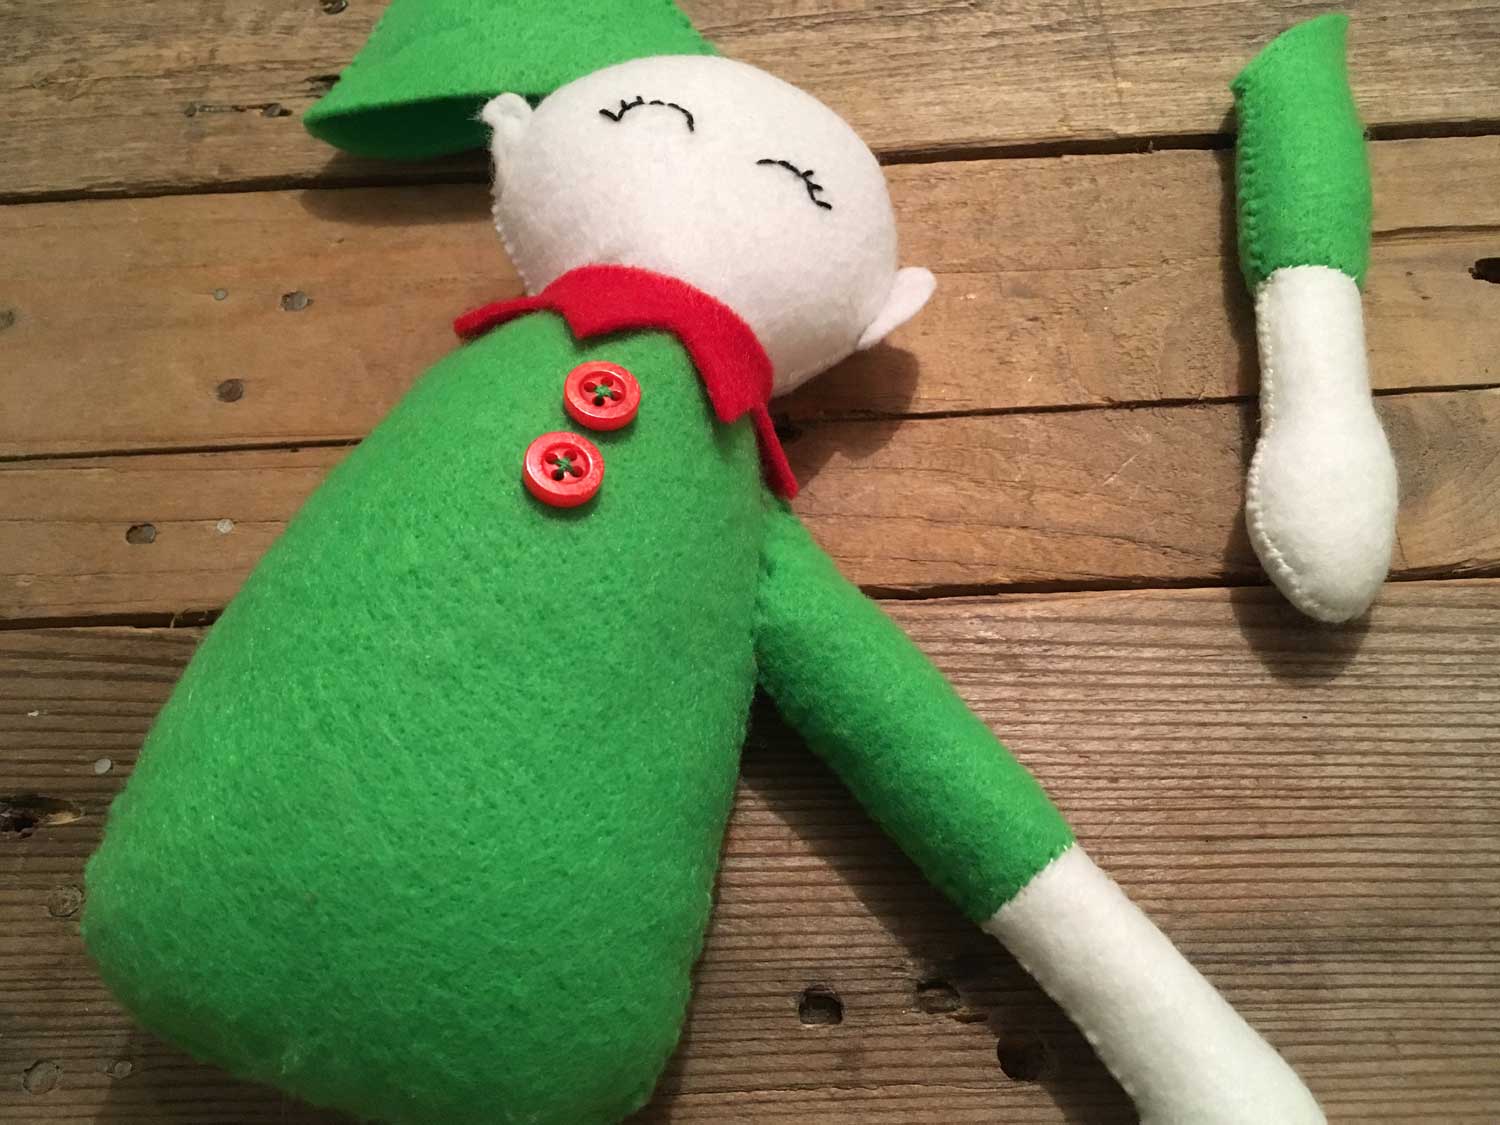
And place the hat on to your elf’s head. Voila your Elf is all ready 🙂

This tutorial is part of the Sew a Softie for Christmas project, to see all of the tutorials use the hashtag #SASXMAS over on Instagram or join the Facebook Group click here.


What a sweetheart! I’d love to give him a try.
Amalia
xo
I’m ready to make one this year. Just need red and green felt. Maybe some pink instead of white for the face?
I can’t wait to get one made!
Yeah, I love this guy, he is presently sitting in my christmas tree, happy elf making.
Finding pattern saved me!