 Betty Bunny Sewing Pattern
Materials:
- A4 sheet of wool felt
- 5 1/2″ ribbon & 1 button
- 5 x 11″ piece of patterned cotton
- Brown embroidery thread/floss
- Embroidery thread/floss to match the felt
- Polyester toy stuffing
Tools:
- Pattern & print on A4 page at 100%
- Scissors
- Sewing needle
- Doll sewing needle
- Chopstick
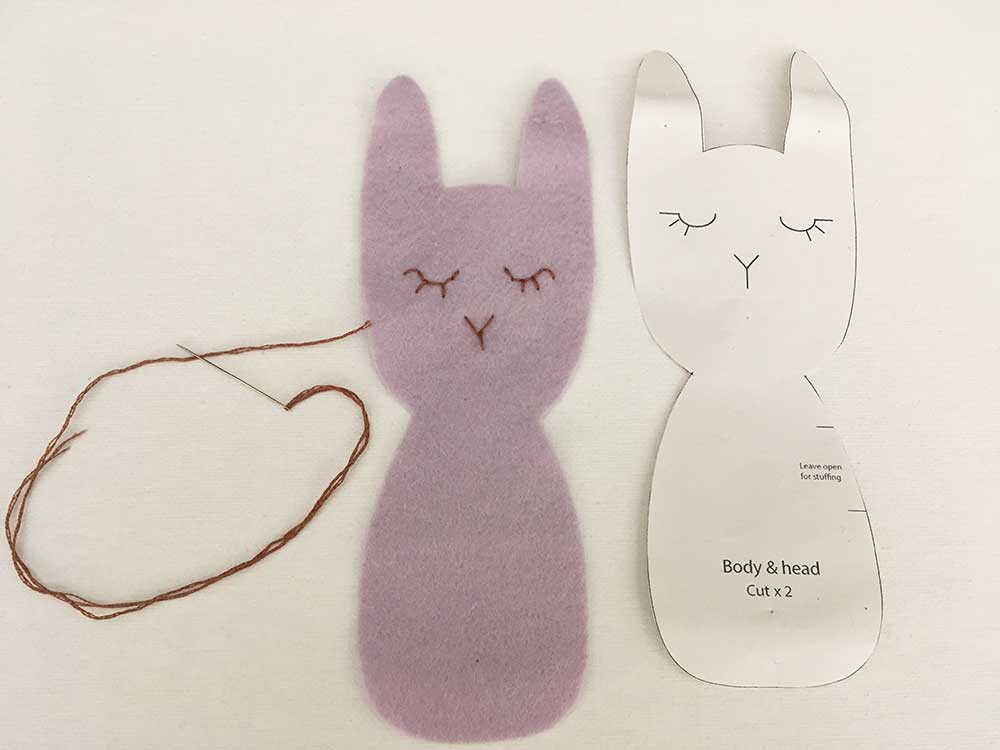
To Make: Download and print out the pattern linked above. Cut out all of the pattern pieces in the amounts listed on the printout.  Using two strands of the brown embroidery thread/floss embroider the face on place using a back stitch. Use the face on the pattern as a guide.
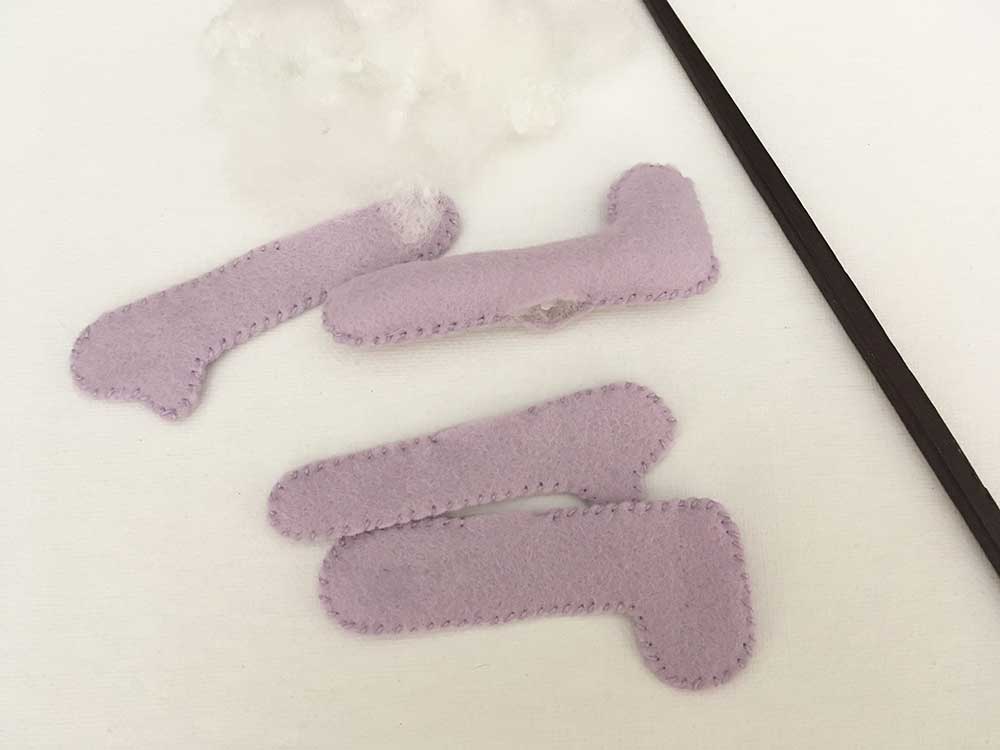
  Using two strands of the embroidery thread/floss matching the felt whip stitch the front and back of the bunny together, leaving a small gap marked on the pattern.
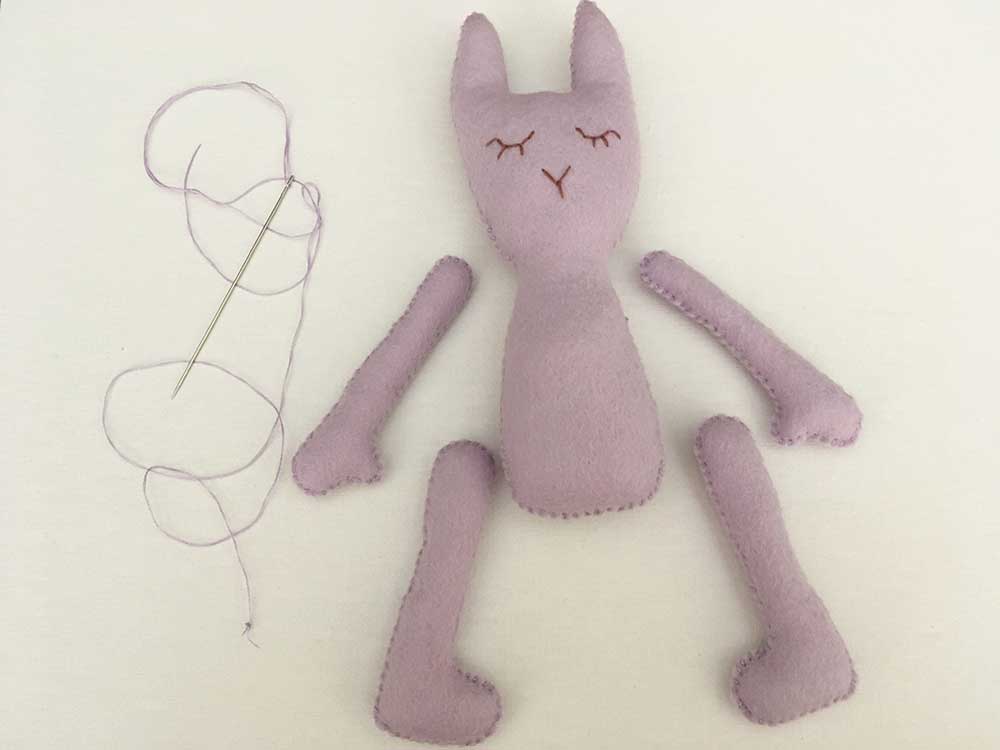
  Repeat on the legs and the arms. Stuff the body, legs and arms with the polyester toy filler. The chopstick can be used to place the filler in the ears and feet. Whip stitch all of the openings closed.
  Using a long doll making needle attach the arms and legs to the body. See video for reference click here. Note: Ignore using the buttons, as shown in the video.
 To Make the Dress:
  Turn up a single fold along the length to the material and secure in place with a running stitch.
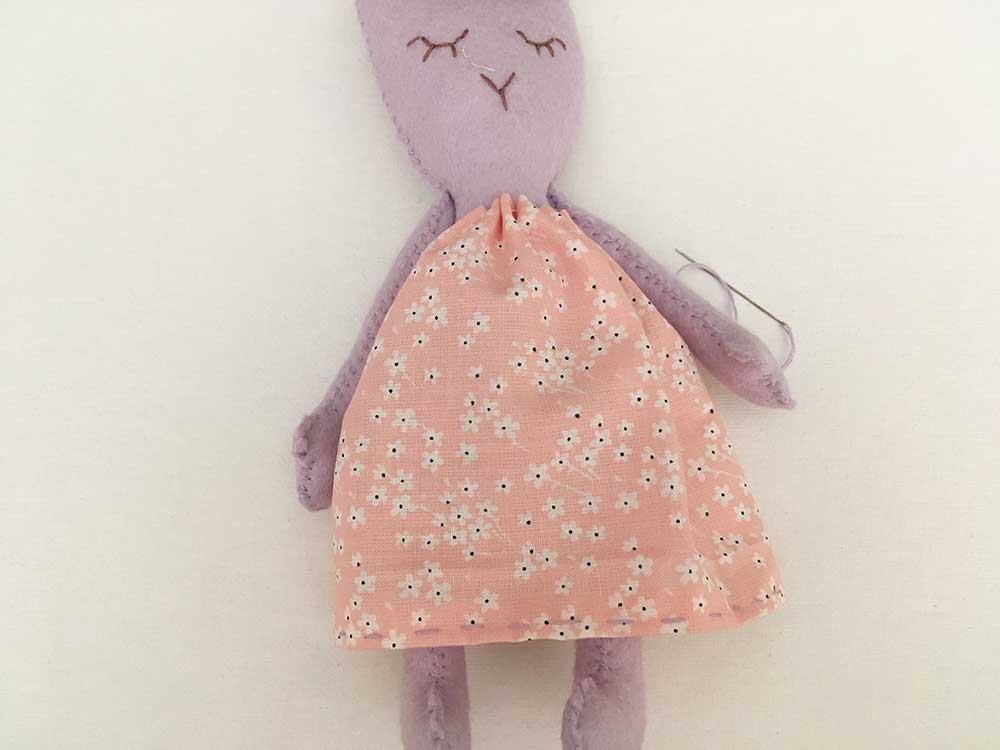
  Fold in half (right side to right side) and sew the material together using the running stitch, creating a tube. Turn right side out. Turn down a single fold along the top of the material and secure in place with a running stitch, slip the dress under the bunny’s arms and pull the thread gathering the material until it fits snuggly around the bunny’s body.
  Fold the ribbon in half and sew a button onto the fold. Sew the open ends of the ribbon together. Slip over the bunny’s head and secure the ribbon to the back of the dress with a few stitches.


Check out other Sew A Softie tutorials & projects at https://www.colouredbuttons.com


Those are super sweet and I love the simple dresses! 🙂 Lisa