
Make this really cute Cloud Baby Mobile to hang in a Nursery or Playroom. The Cloud Babies can be made in various colours and materials. This particular Cloud Baby Mobile is created using wool felt in muted and pastel shades. The Cloud Baby Mobile in this tutorial is all hand sewn. Perfect as a home make or for a gift.
To make the Cloud Baby Mobile you will need:
- Wool felt in various complimentary colours
- Embroidery thread/floss in matching colours to the chosen felt
- Black embroidery thread/floss
- Craft filler
- Small embroidery hoop (4 1/2″ hoop used in the tutorial)
- Cotton quilting thread
- Beeswax
Tools:
- Pattern and printer (Click Here to download the pattern and print at 100% on A4 Paper)
- Scissors, paper & fabric
- Pins
- Sewing needles
- Tailor chalk pencil
- Chop stick
How to make:
- Download and print out the pattern above.
- Choose the colours you want to make the Cloud Babies, in this tutorial we chose pastel/muted colours in shades of pink, green, blue and cream. You can mix and match the body colours with the legs.
- Pin the pattern to the felt and cut out enough pieces to make three main bodies and six sets of legs. Follow the amounts listed on the pattern templates.

- Once you have the pieces cut out, separate up into each individual Cloud Baby.

- Transfer the face to one side of the Cloud Baby body with a tailor chalk pencil.
- Using three strands of the black embroidery thread/floss fill in face using the back stitch. Click here for details on how to do the back stitch.
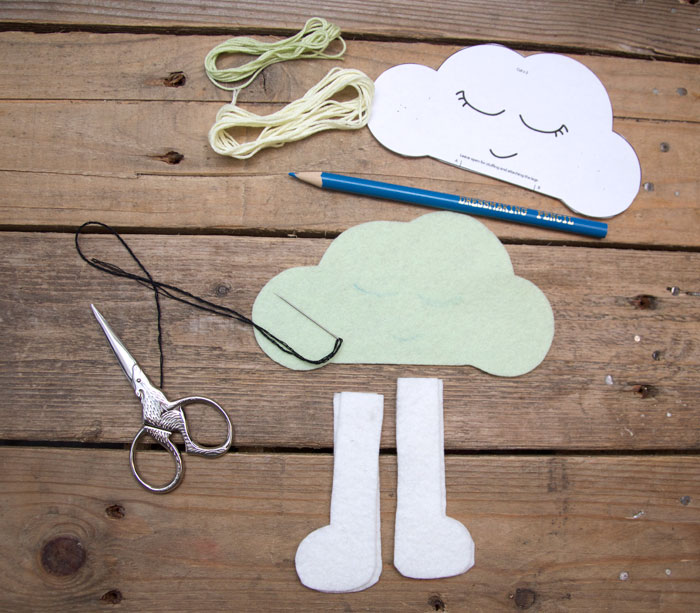

- Once the face is completed, transfer the small markings A & B onto the inside of the Cloud Baby body section.
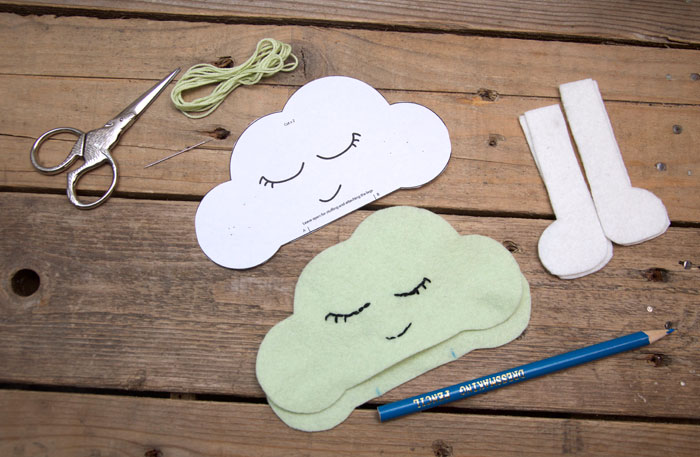
- Thread your needle with two strands of embroidery thread/floss in a matching colour to the felt.
- Start sewing at point B.
- Using the whip stitch work your way all around the Cloud Baby until you reach point A and finish.
- Click here for details on how to do the whip stitch.


- Again using two strands of matching colour embroidery thread/floss work your way around the leg sections of the Cloud Baby with the whip stitch.
- Leave the top section of each leg unsewn to allow for stuffing.

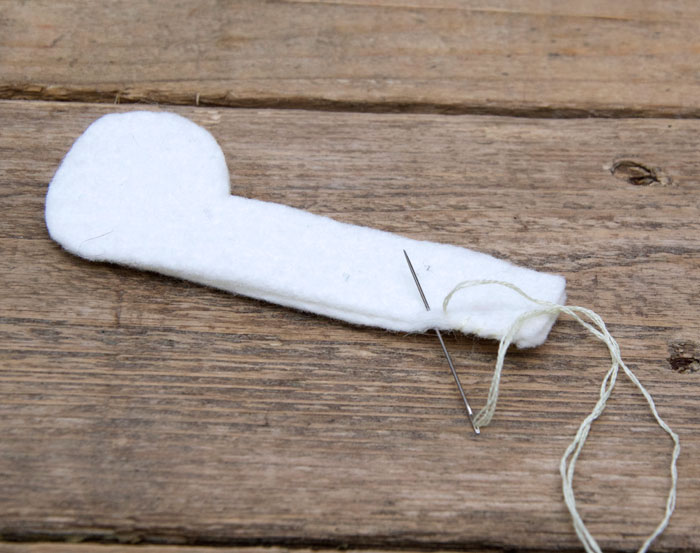

- Stuff the Cloud Baby body and legs with some craft filler.
- Only a little amount of stuffing is required.

- Flatten the legs out, so as the feet are facing you and place inside the open section of the Cloud Baby body.
- Pin in place.
- Whip stitch along the front and the back of the legs and body.

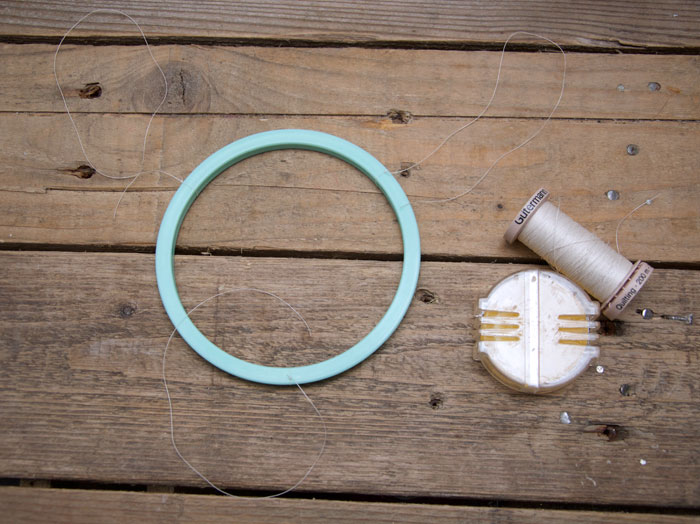
- Separate the embroidery hoop into two sections.
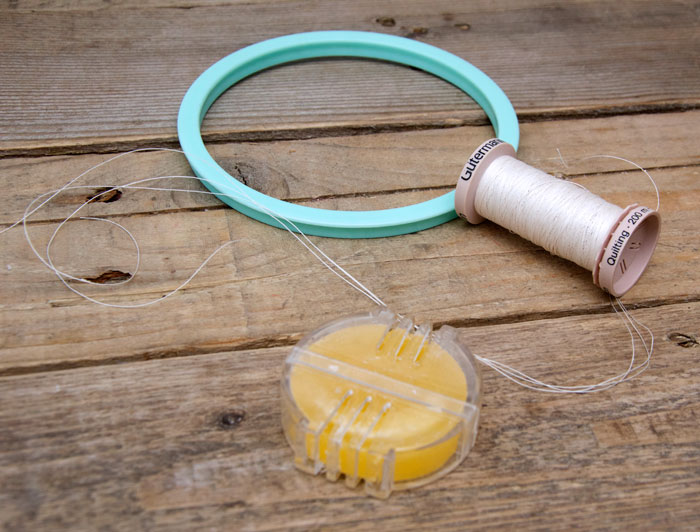
- Cut off three matching lengths of quilt cotton and run each section through the beeswax.
- Tie the thread on to the top section of the embroidery hoop.
- make sure there is equal distance between the threads.
- These pieces will be used to hang the mobile with.
- Match the three together, tie into a knot and create a loop at the top to hang.
- Cut off three more lengths of quilting cotton at various sizes, depending on the different hanging distances for each Cloud Baby.
- Sew each length into the top of each Cloud Baby and tie onto the bottom of the hoop.
- Have equal distance between the Cloud Babies around the hoop.
- Adjust the drop to suit your taste.

Cloud Baby Mobile ready to hang.
I do hope you liked this free pattern and will enjoy making it as much as I liked creating it. If you like my free content and would like to see me creating more, please consider buying me a coffee. Thank you for your support! ![]()

Watch the video tutorial for the Cloud Baby here.


