Tacking Stitch Instructions:
- Thread the needle and do not place a knot at the base of the thread.
- Insert the needle through the back of the fabric and pull through leaving a long piece of the thread tailing from the fabric.
- Moving the needle in a straight line forward poke the needle back down through the fabric and take all of the thread through until you just have a long stitch left in the top of the fabric.
- Moving forward in a straight line, poke the needle up through the back of the fabric the same stitch length as the first stitch.
- Continue until you have finished the desired length of tacking.
- Leave a length of thread tailing from the fabric.
Note:
This stitch is primarily designed to hold two pieces of fabric together while the actual stitches are being put in place.
- Pull out the tacking when the actual stitches are finished.

-

Jessica Owl Sewing Pattern
€2.00 -

Doris Daisy Sewing Pattern
€2.00 -

Polly the Owl Sewing Pattern
€2.00 -

Likkle Bunny Sewing Pattern
€2.00 -

Holly the Pony Sewing Pattern
€2.00 -

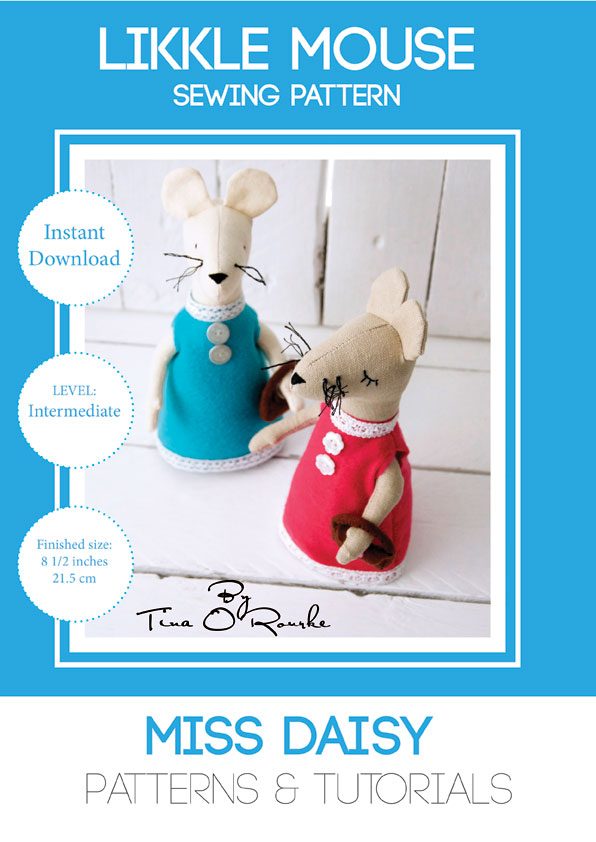
Likkle Mouse Sewing Pattern
€2.00 -

Tommy Toadstool Sewing Pattern
€2.00 -

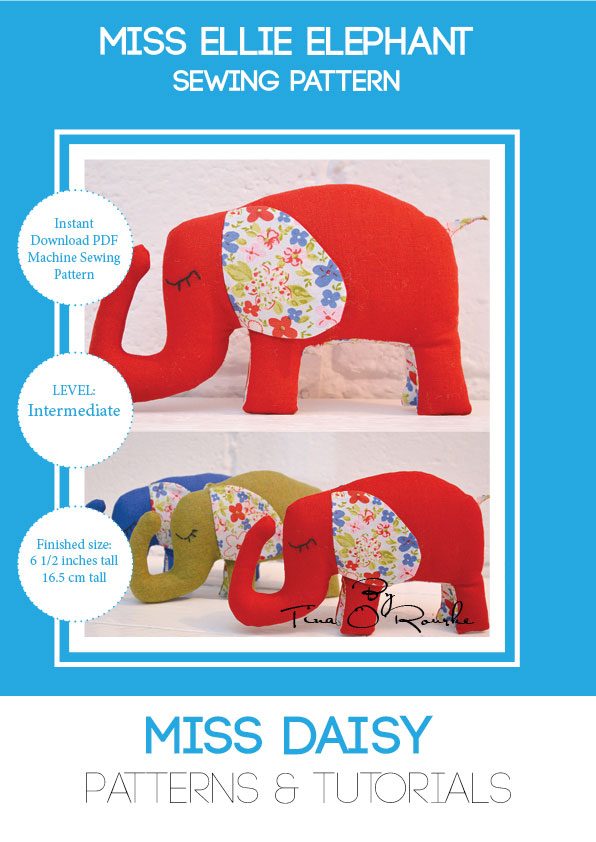
Miss Ellie Elephant Sewing Pattern
€2.00 -

Toby Appletree Sewing Pattern
€2.00


